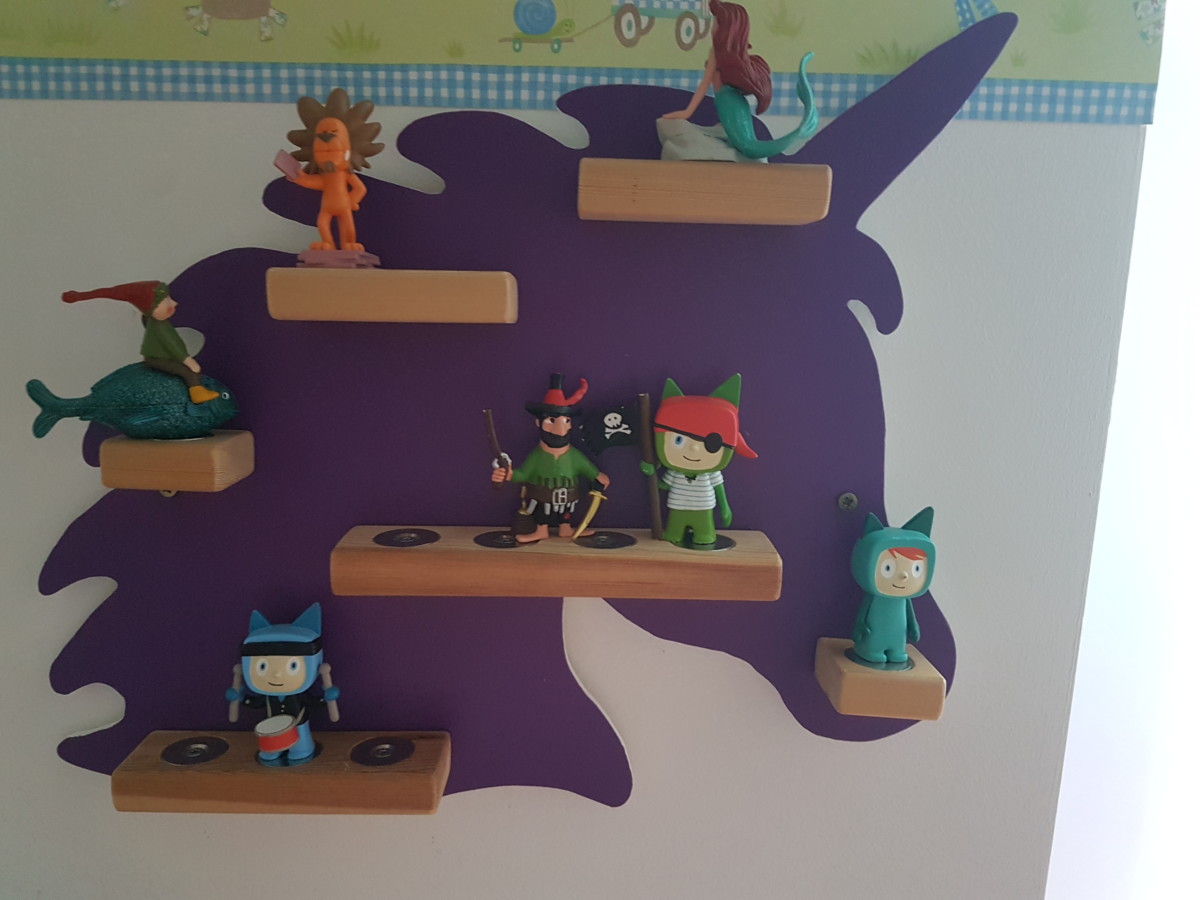
These great magnet applications for storing the Tonie figures make it easier and beautify every child’s room – magnetic Tonie shelves
Magnetic Tonie shelves
Required material:
- Beech plywood board with 6mm thickness (for up to 3 shelves 1200 x 600 mm)
- Bench slat beech raw 20 x 50 x 950 mm
- Screws 4.5 x 60 mm or similar and suitable dowels to attach the shelf to the wall
- Screws 3.5 x 30 mm for fastening the shelves (2-3 per shelf)
- Screws 4.5 x 16 mm for fastening the metal discs (1 per metal disc)
- Metal disc Ø 30 mm with hole and countersink nickel
- White primer for wood
- Color (e.g. acrylic paints)
- Paint suitable for toys (e.g. Obi clear lacquer, satin finish
Required tools:
- scroll saw
- edge router
- 240 sandpaper and possibly 1500 sanding fleece
- possibly jigsaw
- two angles or large protractor
- Drill driver with 3 and 4 wood drill bits and 30 mm Forstner drill bit
- Paint brush
- foam paint roller
- matching paint tray
- for details acrylic pencils
Instructions for the Tonie shelves:
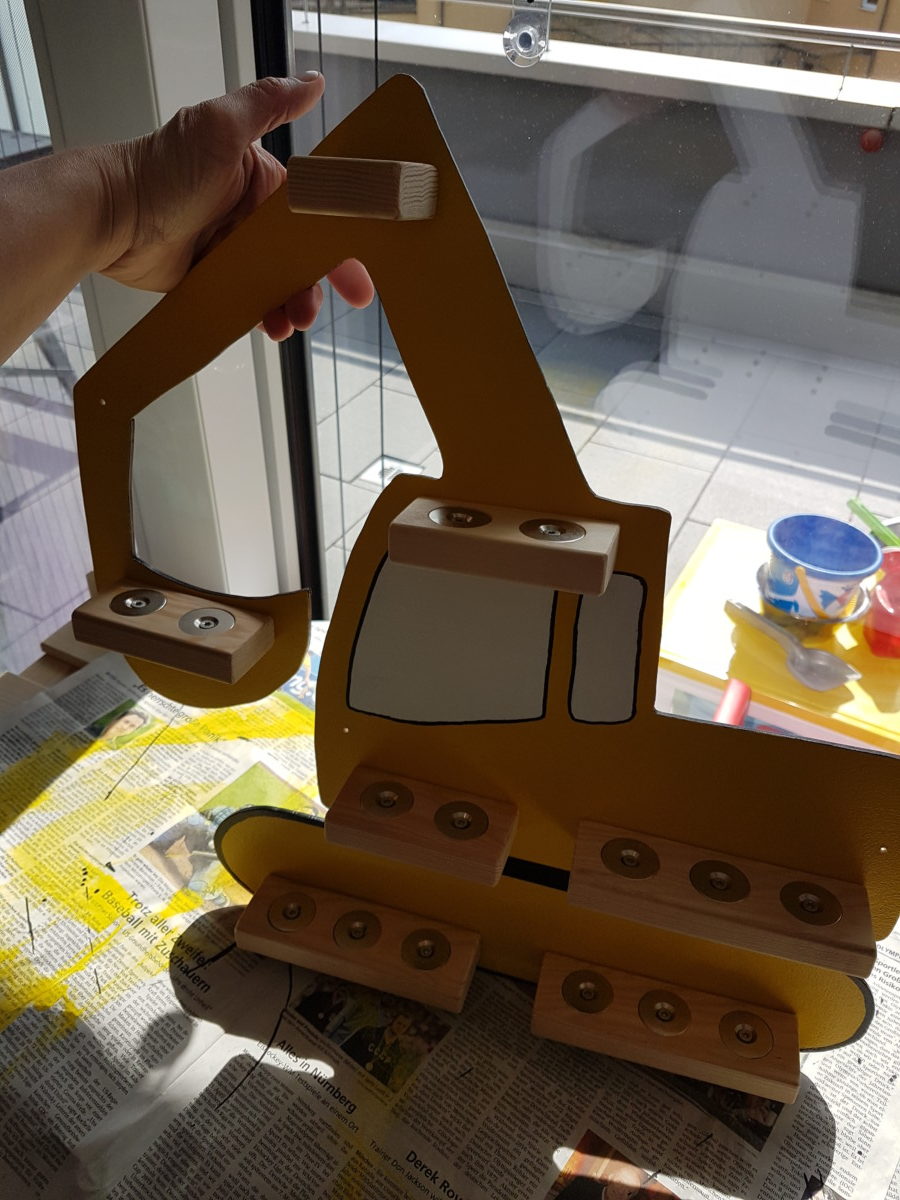
Draw the desired shape of the shelf on the plywood sheet, cut out roughly with the jigsaw and finely with the scroll saw.
Cut shelves for:
- 1 tone: 60 mm width
- 2 Tonies: 105mm width
- 3 Tonies: 150mm width
- 4 Tonies: 195mm width
- 5 Tonies: 240mm width
- 6 Tonies: 285mm width

The distance between the metal discs and the edge is 1.5 cm. Use the Forstner drill to drill the indentations for the discs. Center point in depth at 25mm in the middle and measured in width from the edge at 30mm (1 Tonie), 75mm (2 Tonies), 120mm (3 Tonies), 165mm (4 Tonies), 210mm (5 Tonies), 255mm (6 Tonies).
The shelves can be attached both vertically and overhead. The magnets on the tonie figures are strong enough.
Mill off the edges of the shelves and the shelf and sand with fine (240 grit) sandpaper. sand down surfaces. Possibly rework with 1500 abrasive fleece.
Fasten metal washers to the shelves with the 4.5 x 16 screws.
Observe the distances between the shelves!
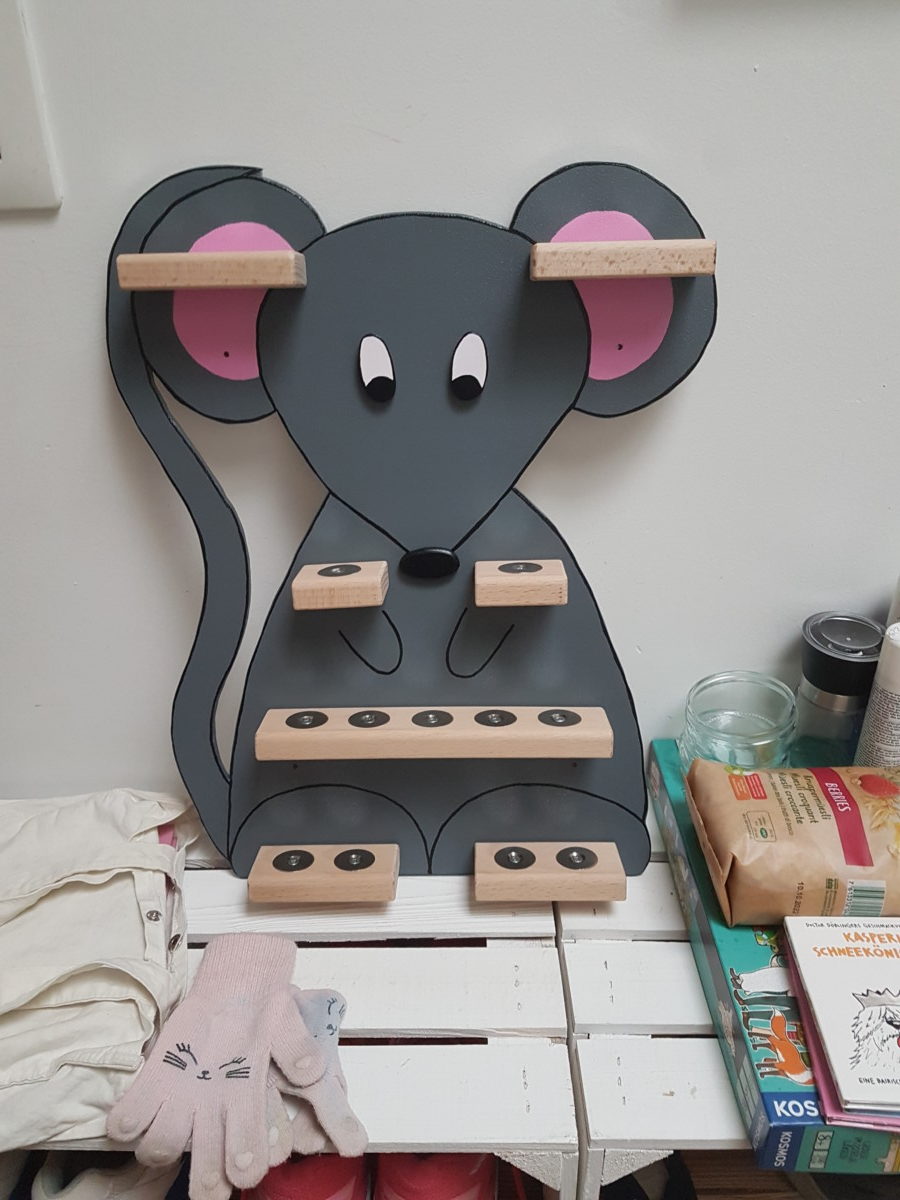
Mark the positions for the shelves in parallel (with a protractor or two squares) and pre-drill holes with a size 3 wood drill bit. Center the hole horizontally and vertically move the hole 2 cm inwards from each side. From a width of 19.5 cm, a third screw is placed in the middle with an even number of Tonies. If there is an odd number, add 1 cm next to the middle.
Pre-drill 2 or more holes (depending on size) with the #4 drill bit for wall mounting (not too close to the shelves).
Grind again.
Prime the rear wall 1-2 times.
Design the color as desired (a black border around the side of the Tonie shelf is a good idea, tip: acrylic pen)
Paint twice
After drying, fasten the shelves from behind with the 3.5 x 30 screws.
Use the scroll saw to cut small pieces from the leftover wood to use as spacers between the shelf and the wall and glue them to the back of the shelf with hot glue. Drill a hole in 2 (or more) of the pieces with the 4-mm drill bit and glue them precisely behind the wall mounting holes. Attach to the wall, done.