Our partner Holz-Liebling creates stylish knife blocks – individual pieces made of wood with the help of the magnets in our shop. The work steps explain the processes step by step, so that everyone can make their own unique piece of wood!
Stylish knife blocks – individual pieces made of wood
- Wood of your choice, in our example oak, plum and ash were used
- 10 x magnets per knife block: QM-40x10x05-N
- wood glue (D3 white glue)
- glue
- wood oil
- 1 x stainless steel plate
- 3 x screws
Needed tools:
- Circular saw
- Jointer/planer
- Screw clamps
- Table router
- Sanding machine with different sandpaper
- Brush or rag for applying glue and oil
- Cordless drill driver
How the Stylish knife blocks are made:
Cutting, dressing and planing wood
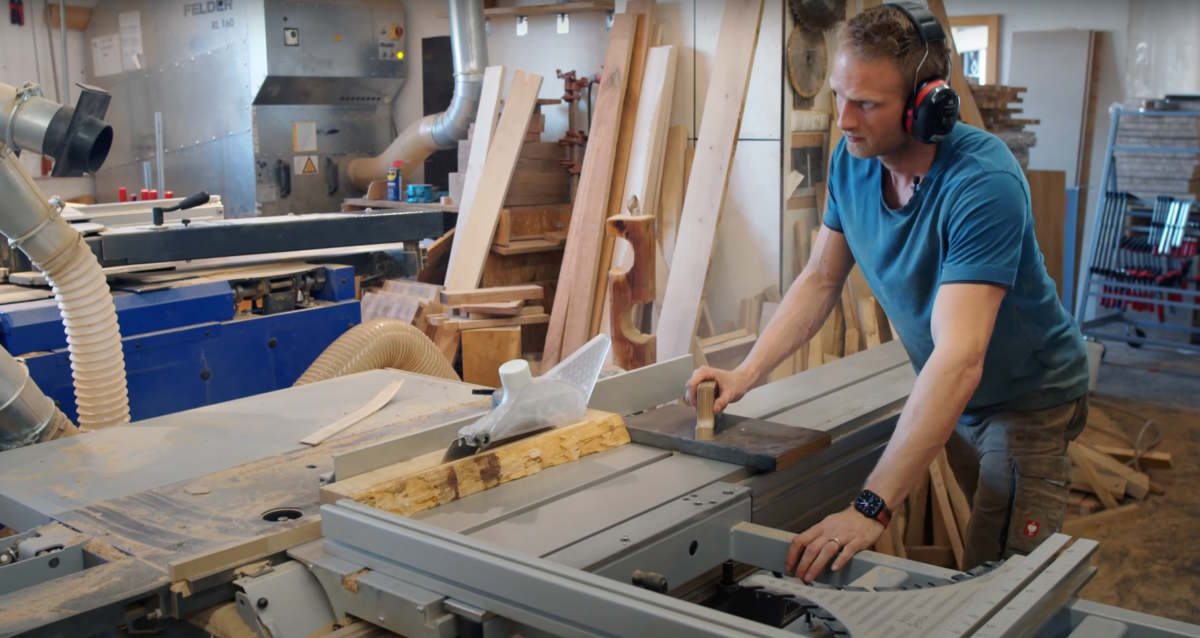
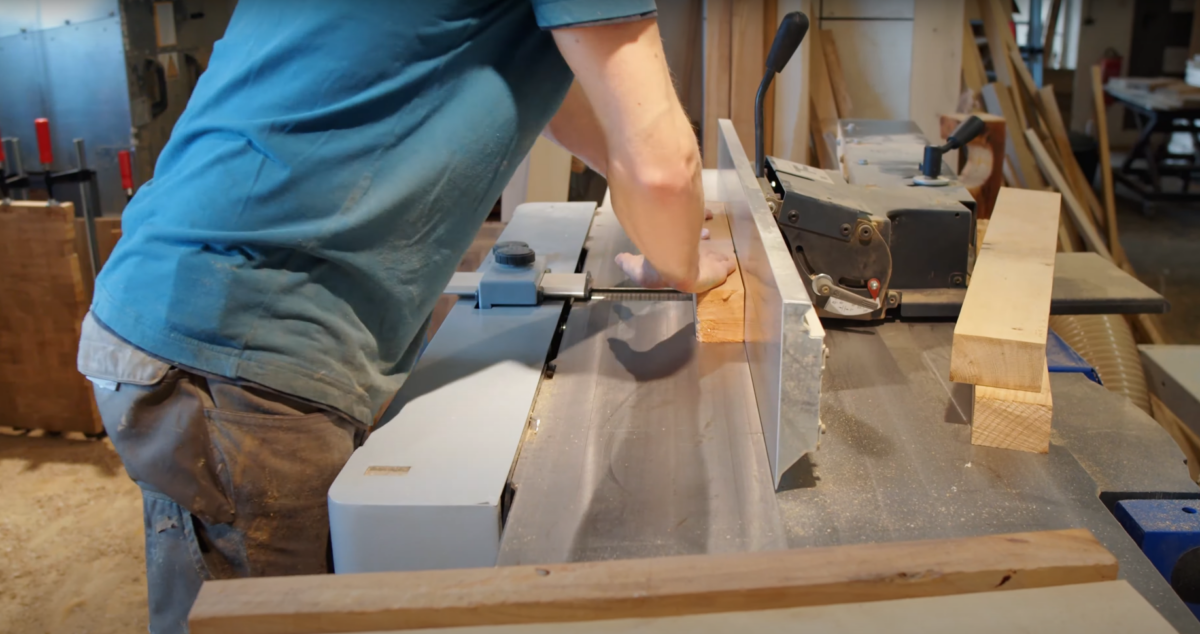
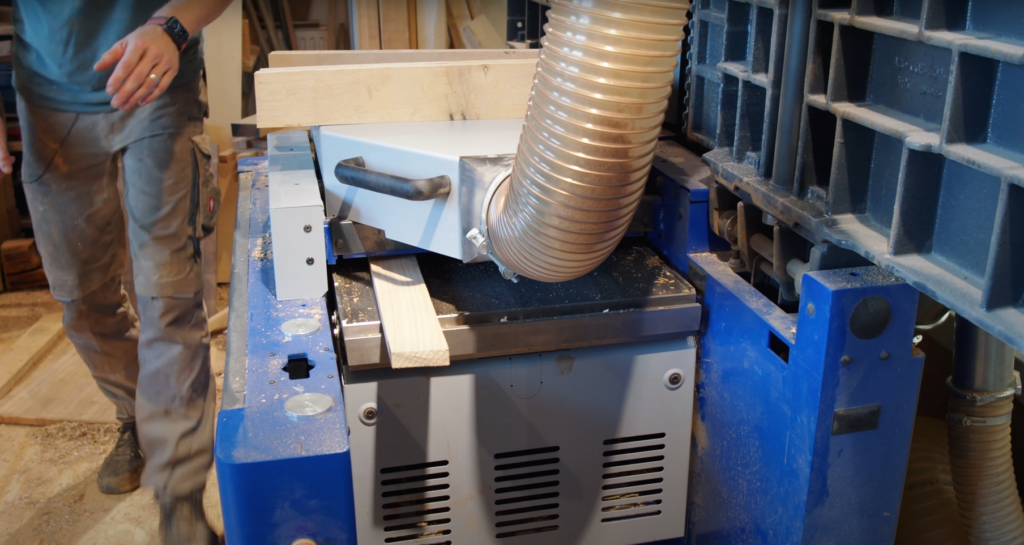
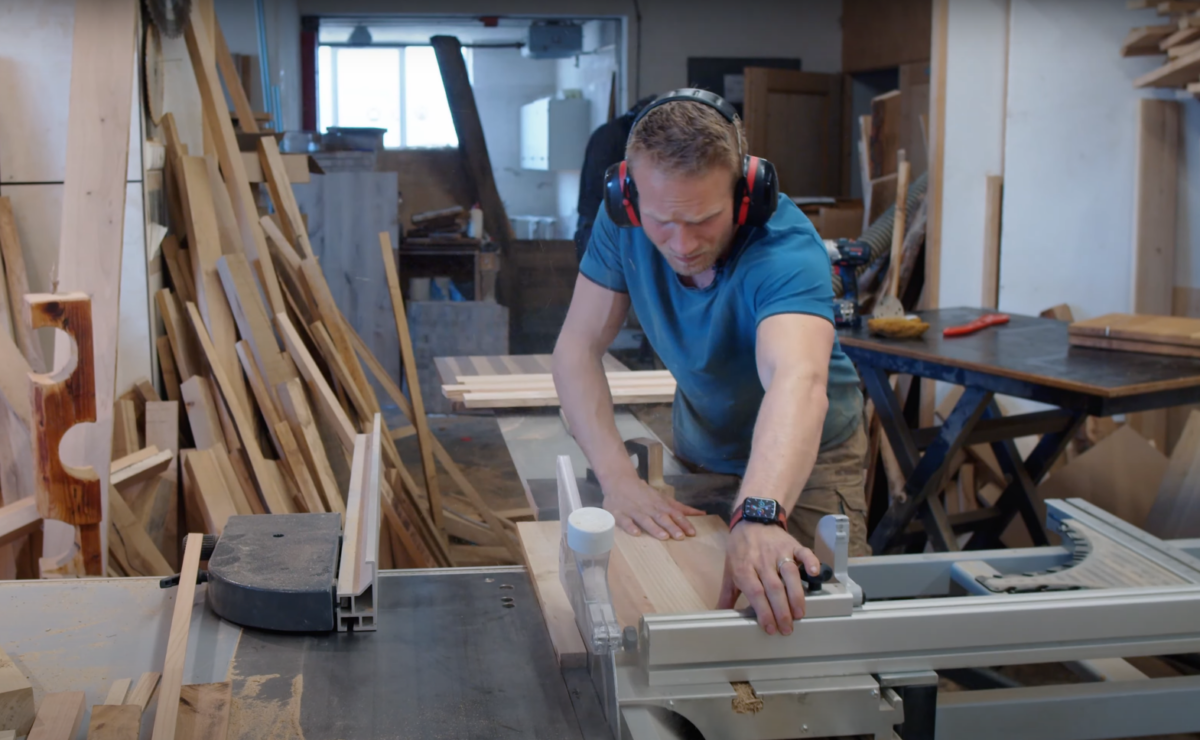
Cut the selected wood into strips with the table saw and then create a straight surface with the planing machine. Bring the wooden strips to an even thickness with the planer and add about 1mm more material to the desired thickness for the later production process.
After leveling and planing, create the glue joint for an optimal glue point.
Glue the wooden boards, let them dry and finally cut them to size
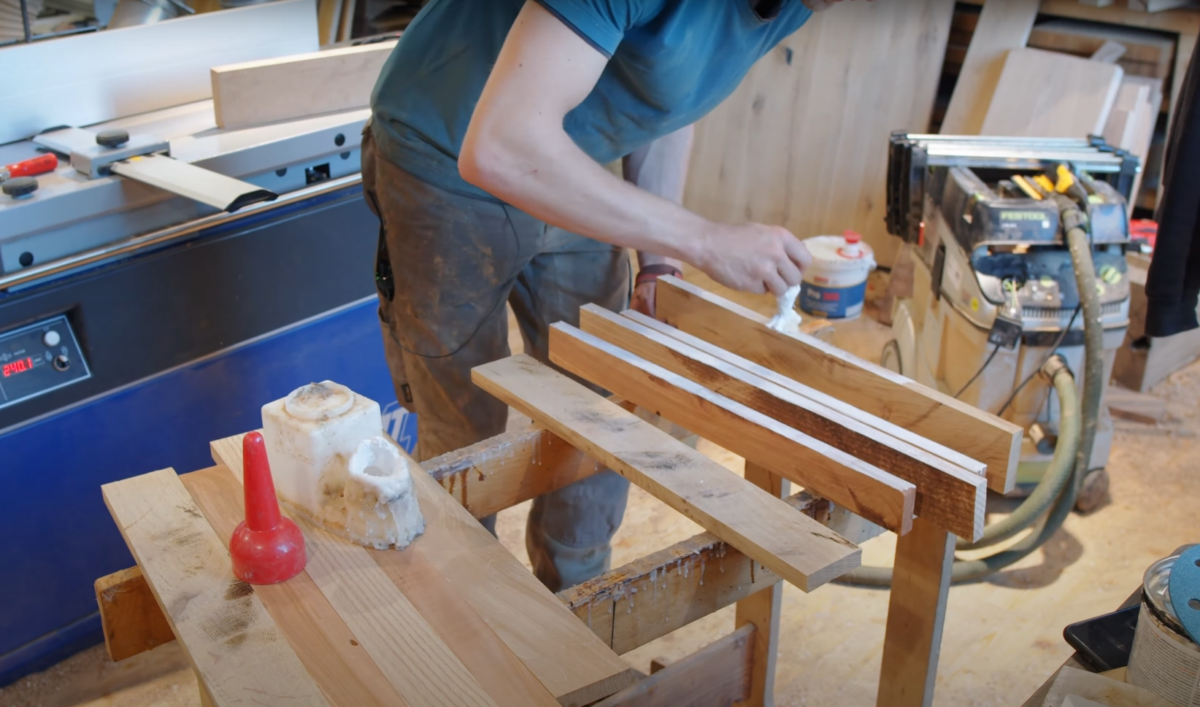

Apply wood glue evenly to the glued joints of the wooden strips using a brush and align. Then attach hold-down device and screw clamps. Double check the panel before the glue sets fully and readjust the strips if necessary.
After the glue has set for about an hour, remove the ferrules and use a scraper to scrape off the residue. This protects machine tables and tools in the further production process and contamination from glue residues is avoided.
Sand the glued panel flat on both sides with a wide belt sander. Cut the wood on the circular saw and divide it exactly in the middle.
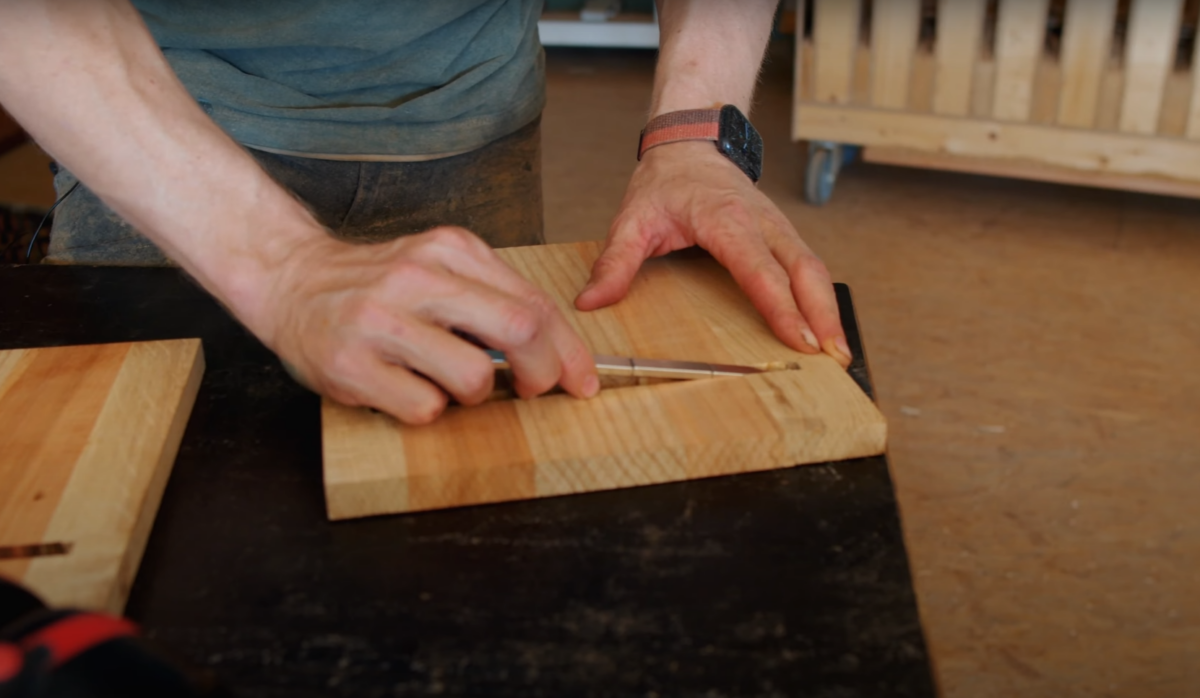
Mill a groove

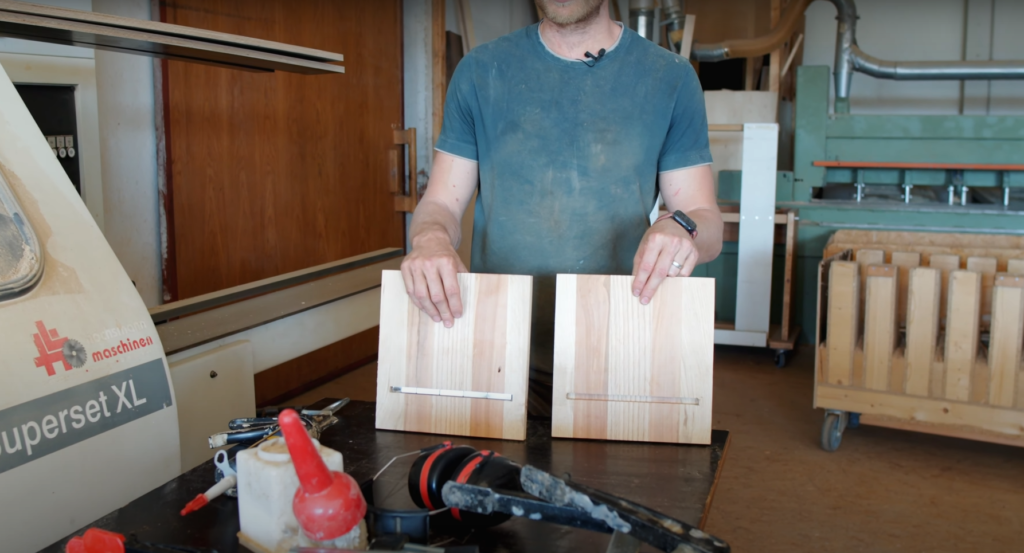
A groove is milled into the inside of both parts for the magnets. The material should only be one to two millimeters thick at this point so that the magnetic force on the contact surface is still strong enough.
Insert magnets and glue for the Stylish knife blocks

Now the blockmagnets are placed in the groove and fixed with the assembly adhesive.
Note: Special care is required when handling the magnets, as they have a very high attractive force. Wrong handling can lead to bruises and injuries.
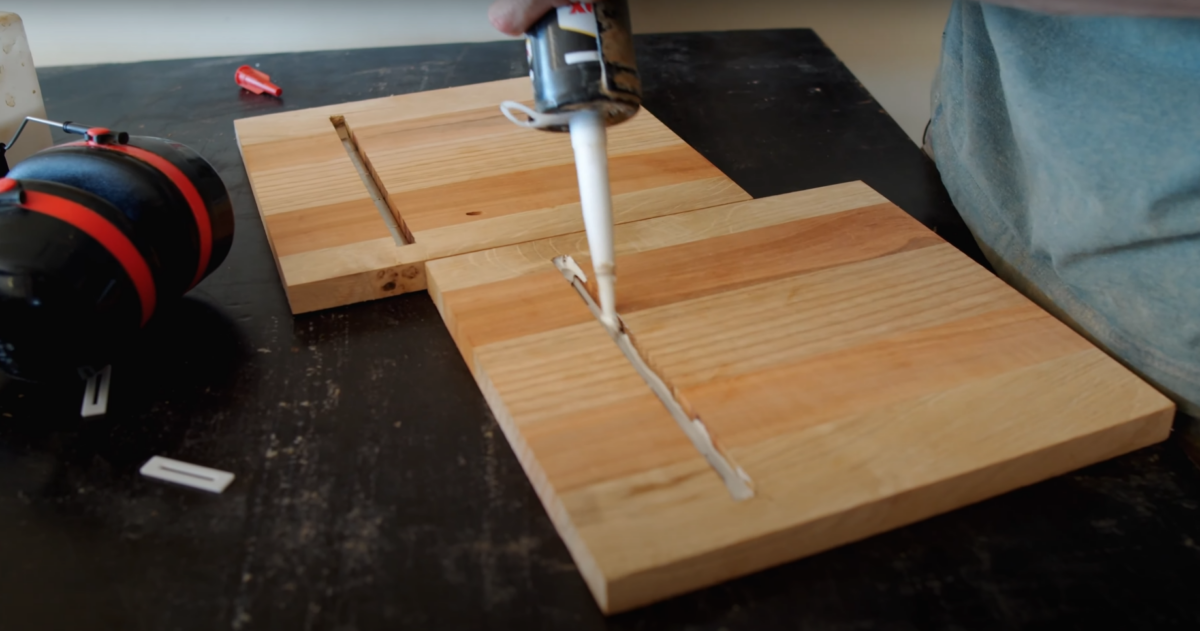
Glue the block of wood and let it dry
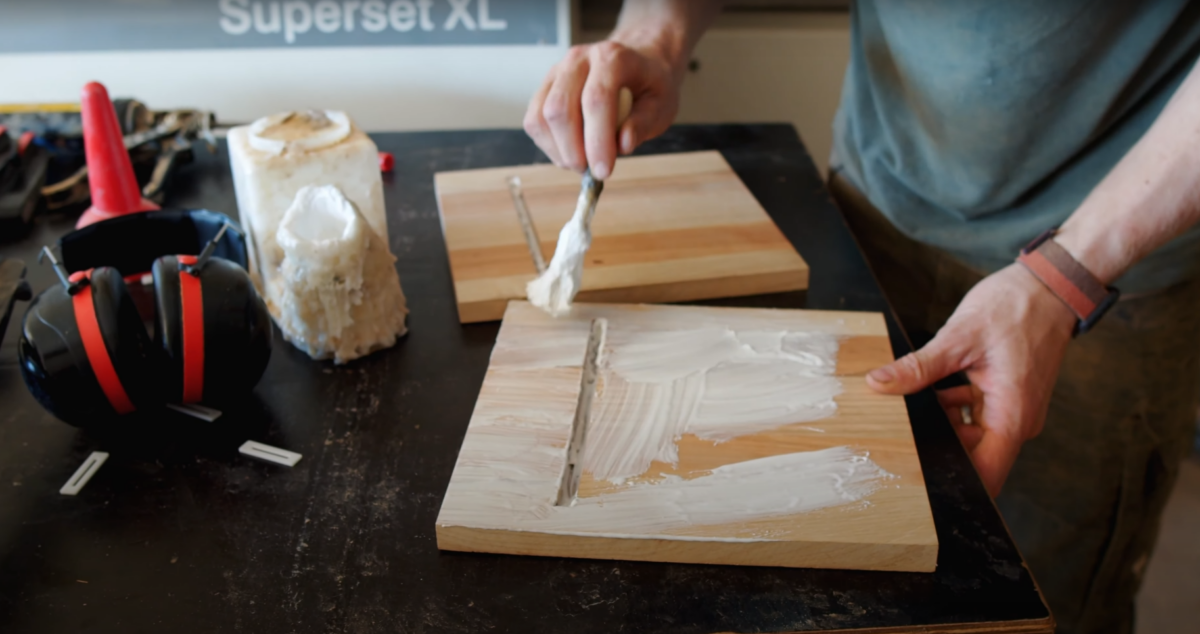
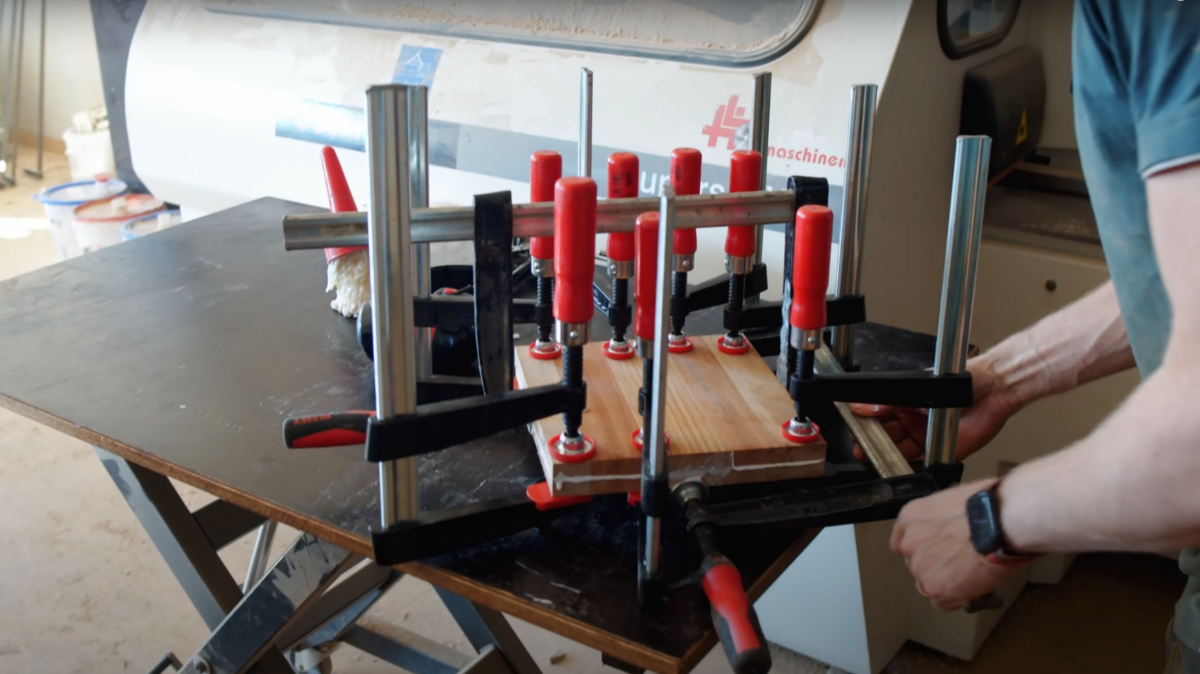
Apply glue evenly to the inside and then join together. Clamp the two parts tightly with sufficient screw clamps.
Grind, oil and mount the stainless steel plate
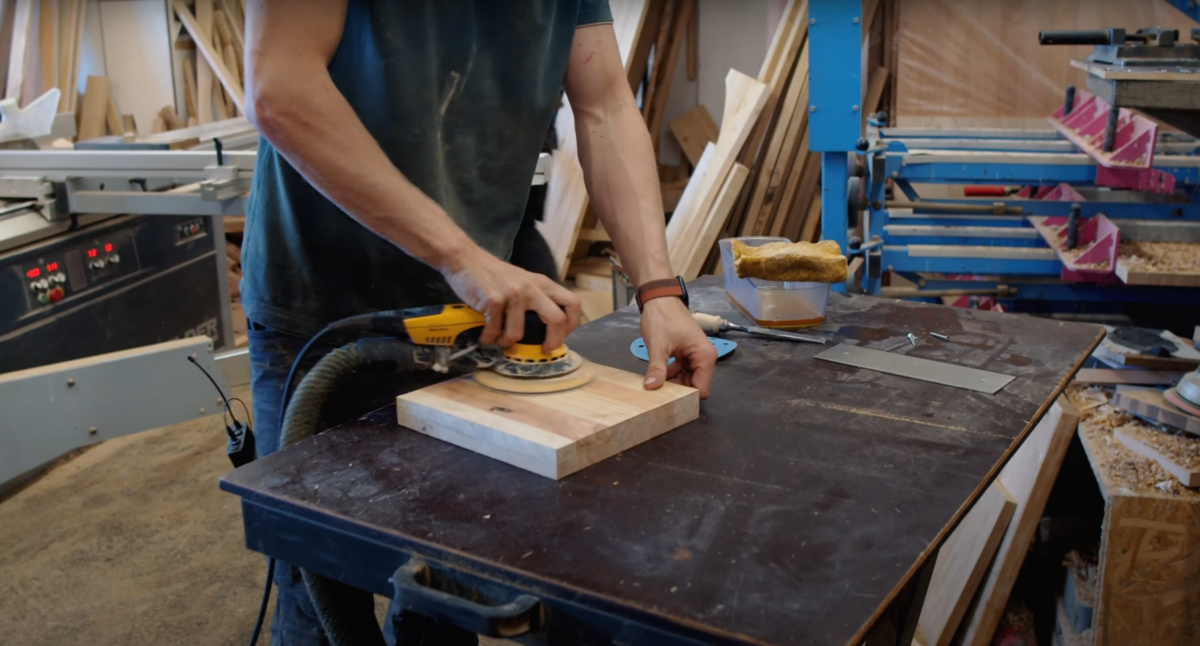
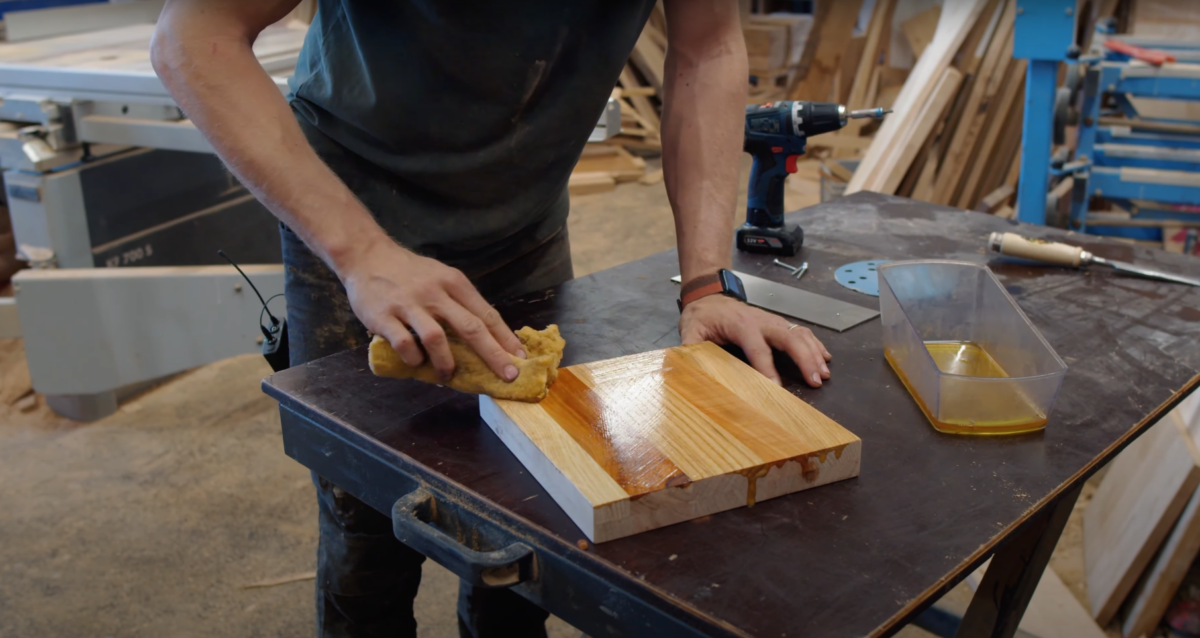
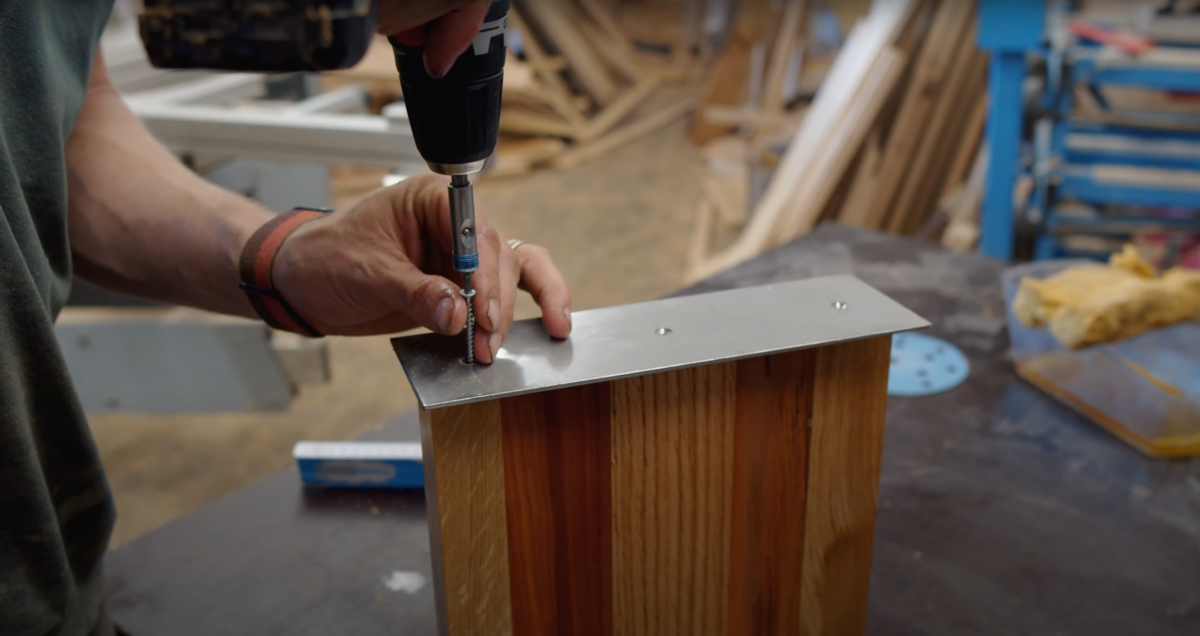
After the glue has dried and the block is firmly bonded, the wood is sanded one last time. Finally treat the surface of the knife block with an oil and screw on the stainless steel plate.
And done!
Stylish knife blocks
Here you can find the detailed video about the knife blocks: