Set new accents with the help of a flexible attachment of Styrodur beams.
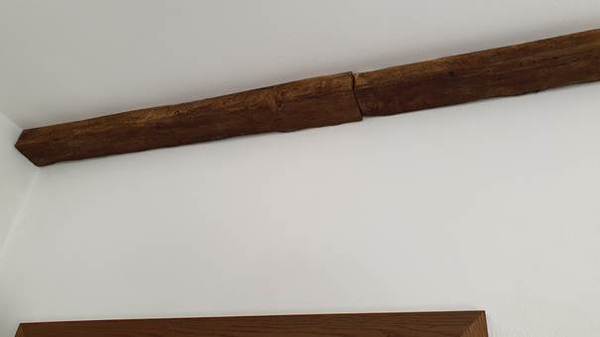
Our customer beautified his living space by installing Styrodur beams in a wood look instead of wood.
FLEXIBLE ATTACHMENT OF STYRODUR BEAMS
The aim was not to have to glue the wood-formed Styrodur beams and to be able to remove them again if necessary without leaving any residue.
For a 2 m long beam we needed 3 Blockmagnet 20.0 x 20.0 x 3.0 mm N45 nickel – M3 countersunk hole for attachment to the beam and 3 for attachment to the ceiling. In addition, countersunk screws with a diameter of 3 mm and a length of 16 mm.
For shorter beams, 4 magnets are sufficient (2 on the beam and 2 on the ceiling). An L-profile is required for this, which is cut into several parts according to the width of the bar.
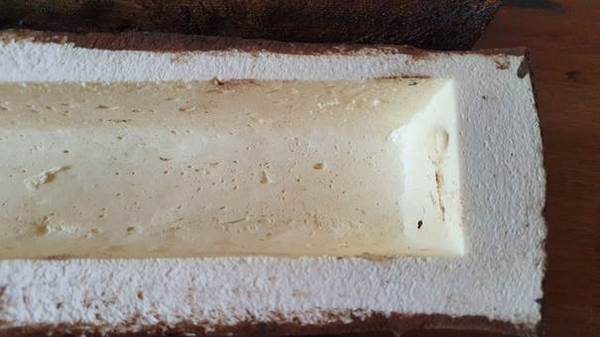
First of all, the beam had to be provided with a bridge so that it could be attached in the middle.
The bar was scratched on the inside and a bridge made with a smooth plastic material.
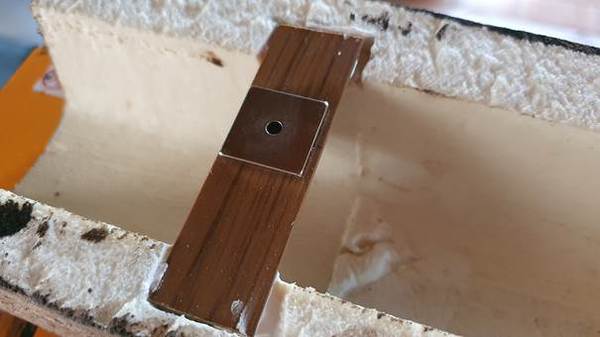
We took an L-profile and attached it with plastic glue.
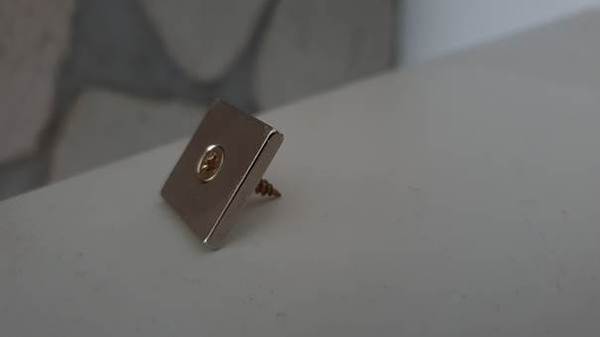
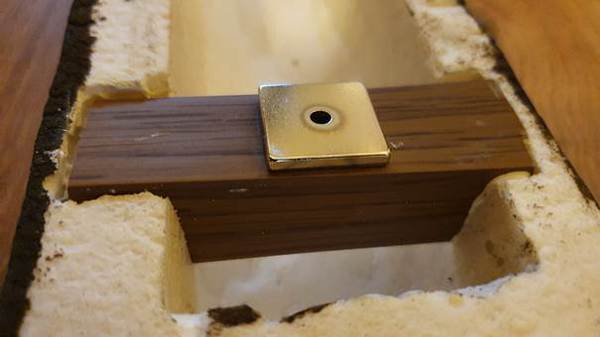
At first we tried to stick a metal tape on, but the glue loosened relatively quickly. Instead, we took a blockmagnet 20.0 x 20.0 x 3.0 mm N45 nickel – M3 countersunk hole and attached it with superglue.
It was important to use the glue in the form of gel in order to be able to smooth out unevenness better.
An attempt with liquid superglue failed and the magnet separated from the plastic after a while.
When removing the magnets from the delivered block, it is essential to wear protective goggles! The magnetic force is so strong that the magnets can break if you are not careful. It is best to solve it sideways.
Magnetically fixed
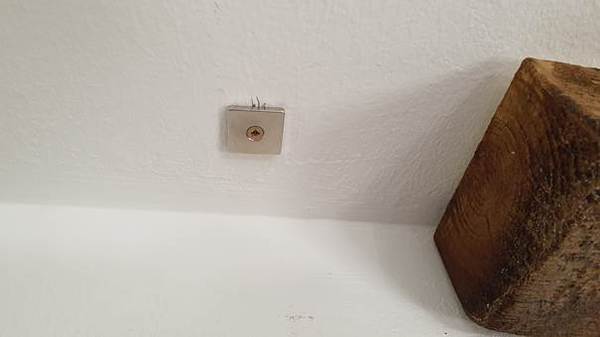


We screwed the blockmagnet to the ceiling. The hole was pre-drilled with a size 4 drill and an S4 dowel was inserted. We inserted a countersunk head screw with a diameter of 3 mm and a length of 16 mm into the countersunk hole of the magnet.
We held the bar and the glued magnet to the ceiling so that we could mark the approximate position where the other magnet will be screwed. The exact position was measured.
When screwing on, we held the magnet by the last few millimeters. We did this in order to align the position with the fastening of the beams.
The beam only had to be placed on the ceiling.
So we saved ourselves the gluing and can remove the beams if necessary without having to laboriously remove adhesive residue.
Only the drill holes would have to be filled.
When removing one should be careful to pull the bar sideways. The magnetic force is so strong that you could otherwise pull the dowel out of the ceiling.