Do you also want to have a unique model in your kitchen? No problem, our employee has created detailed knife block instructions for you to make it easy to rebuild.
Working materials:
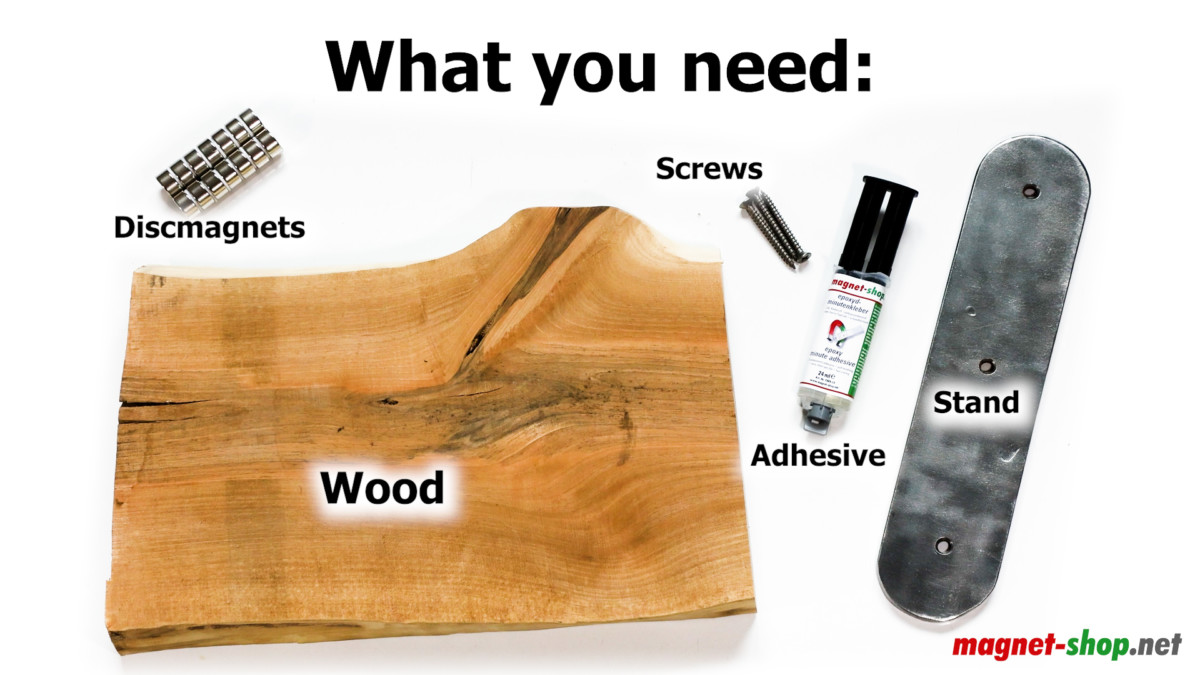
The following material and tools are required:
- For this project, discmagnets Ø 20.0 x 10.0 mm N40 nickel – holds 12 kg – 2 pieces per knife were used
- Wooden board
- Oil and brush
- Stand foot including screws
- Epoxy two-component adhesive 24 ml transparent twin syringe
- Folding rule and pencil
- Drill / Milling cutter
- Saw
- Grinder / Planer
Knife block instructions
Part 1:
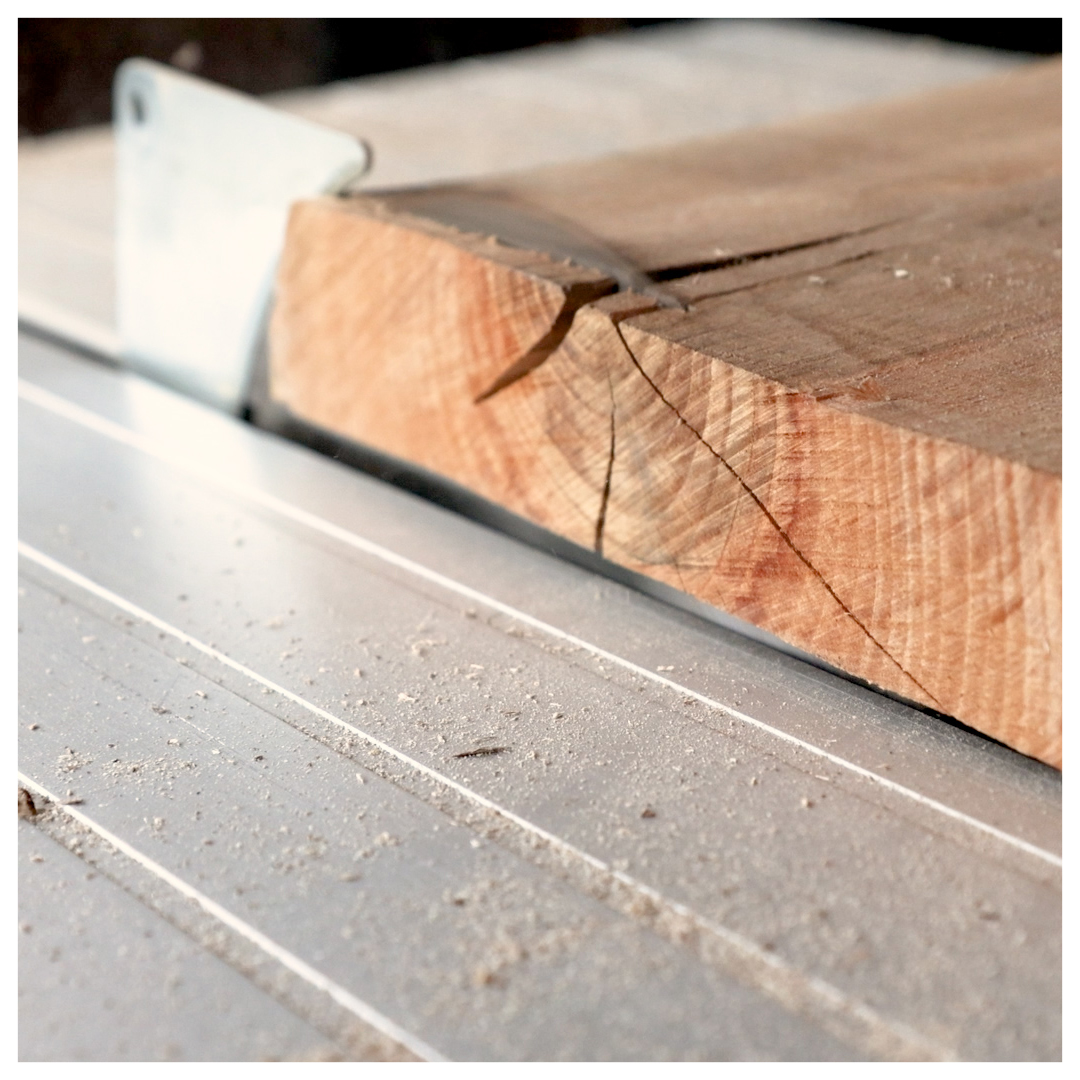

- Saw the wooden board to the desired size.
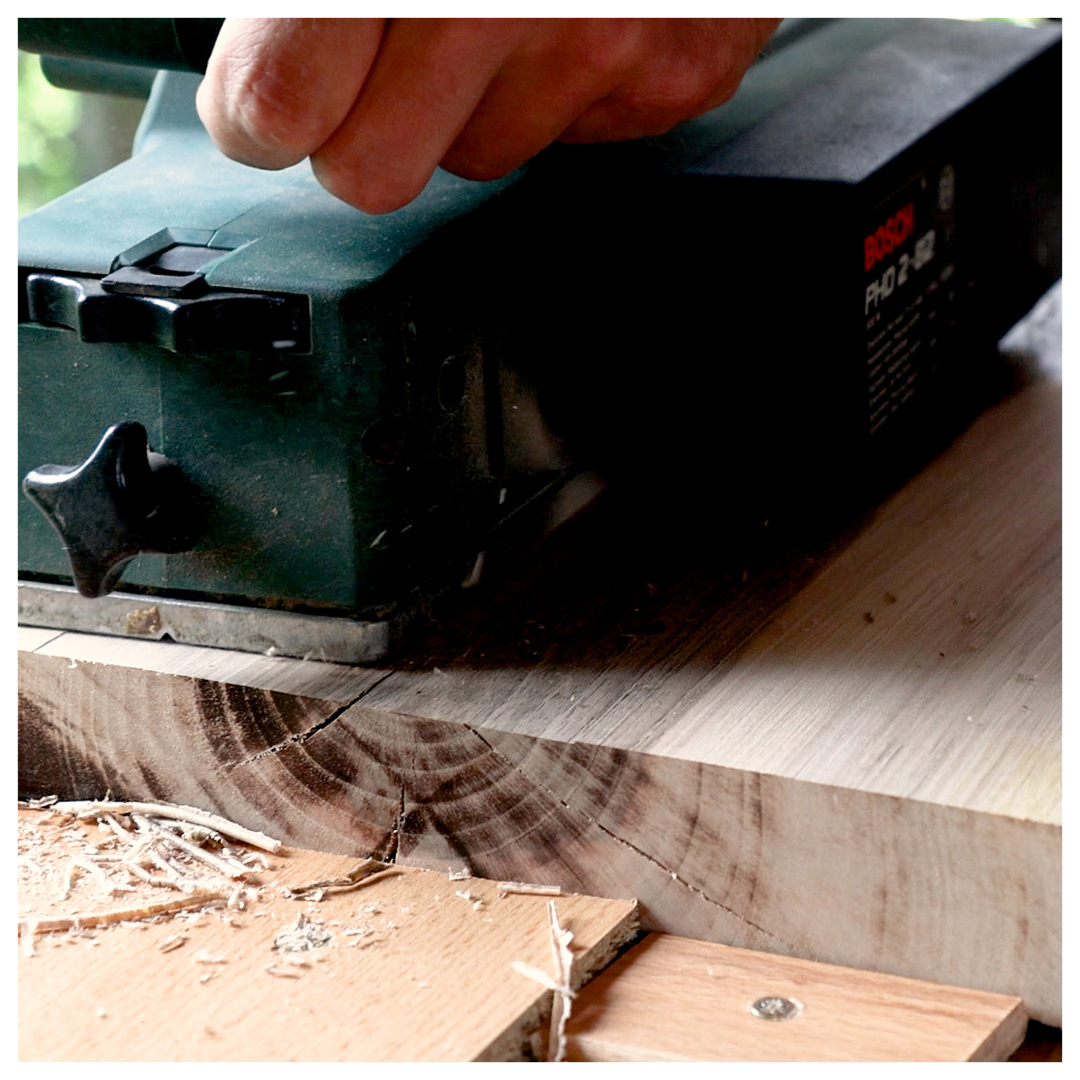
- Plan out any unevenness from the board and refine it with subsequent sanding work.
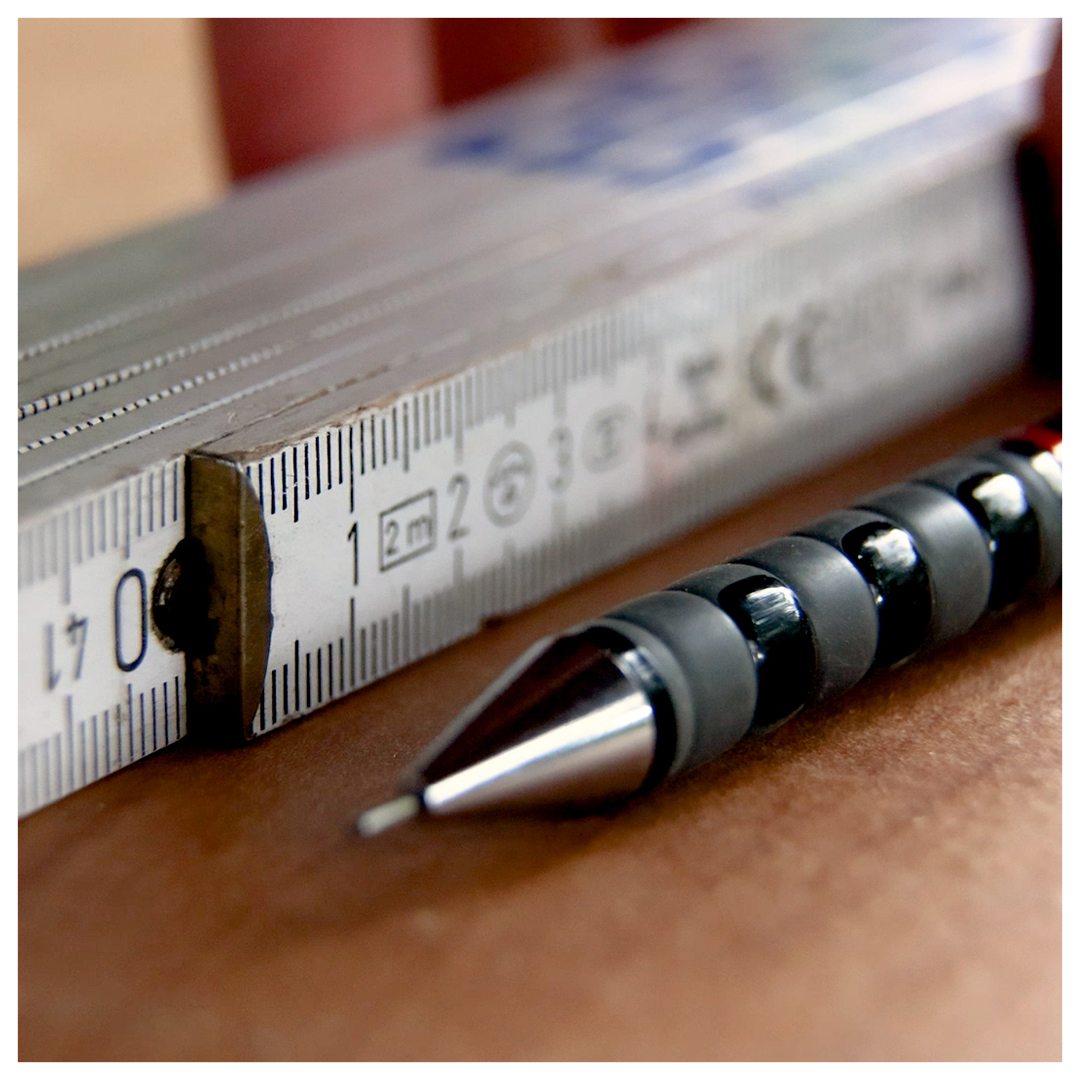
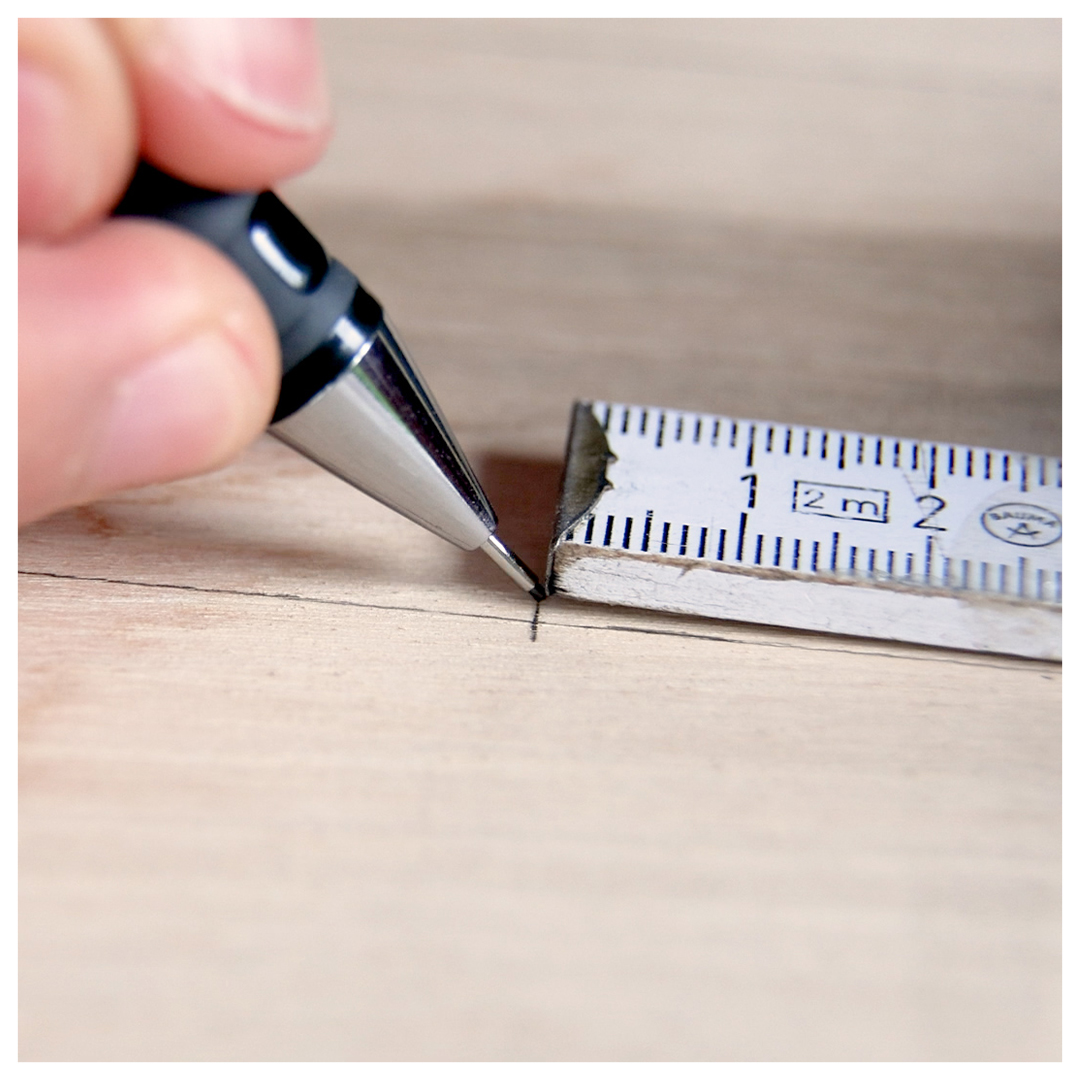
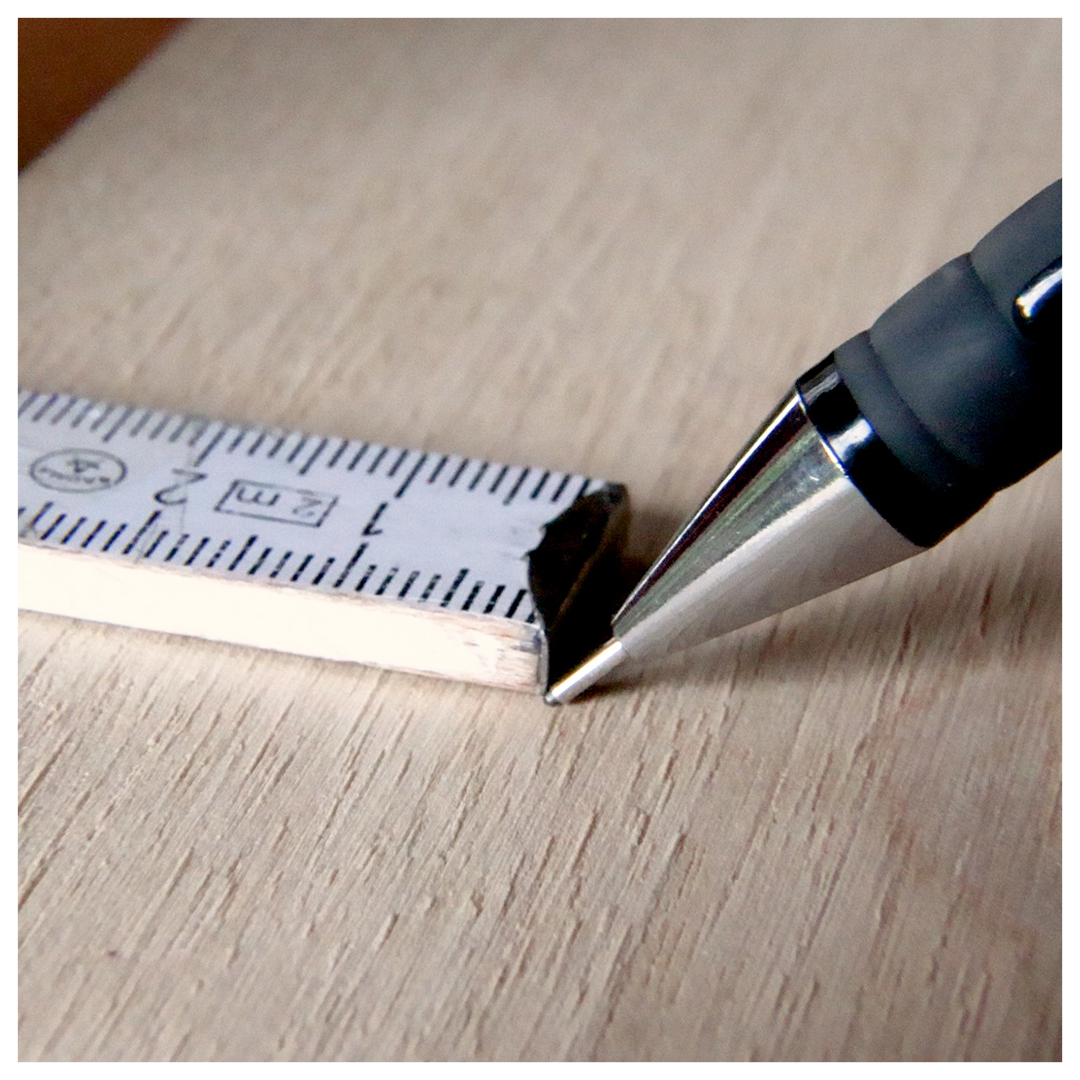
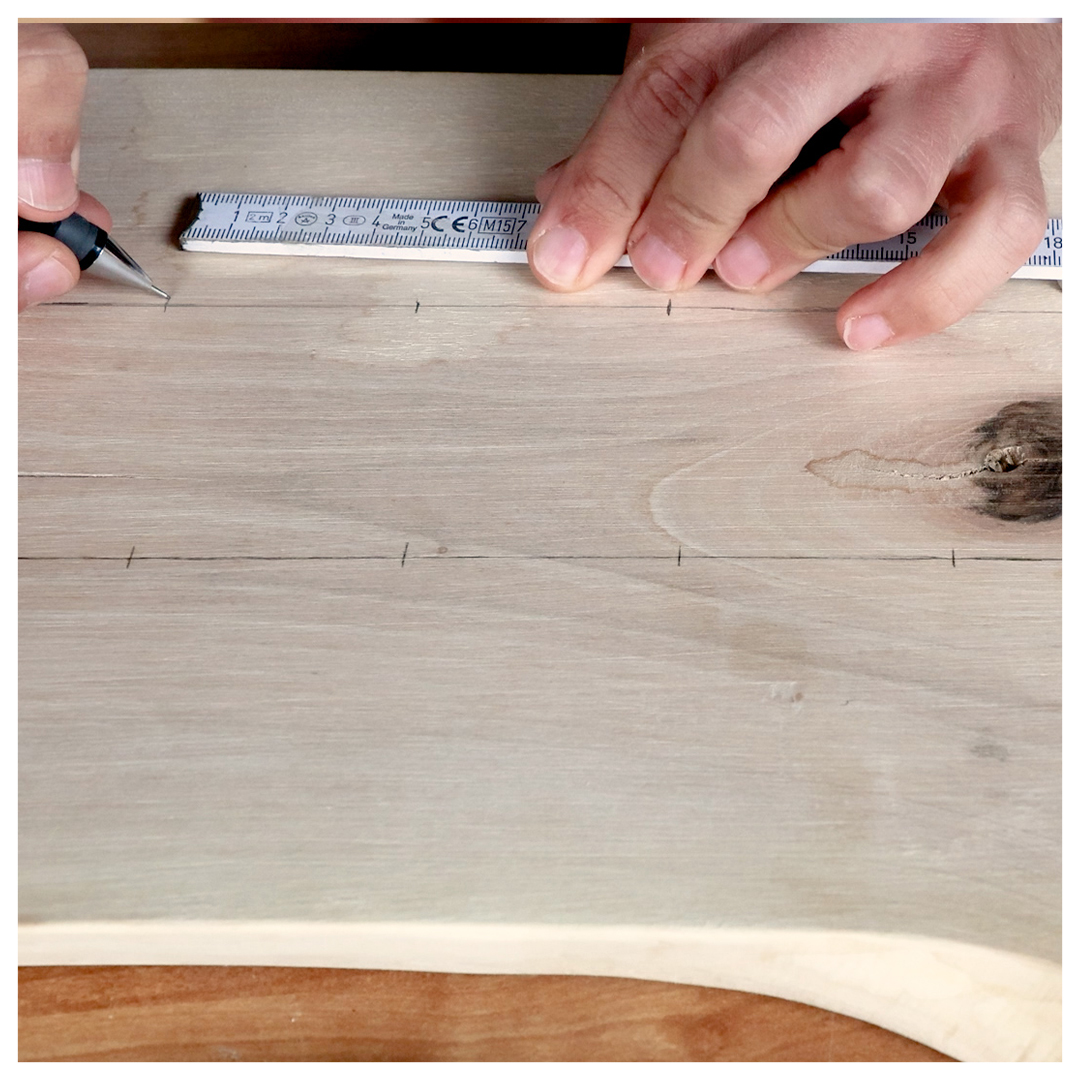
- With the help of a pencil and a folding rule, mark the required drill holes for the magnets and stand.
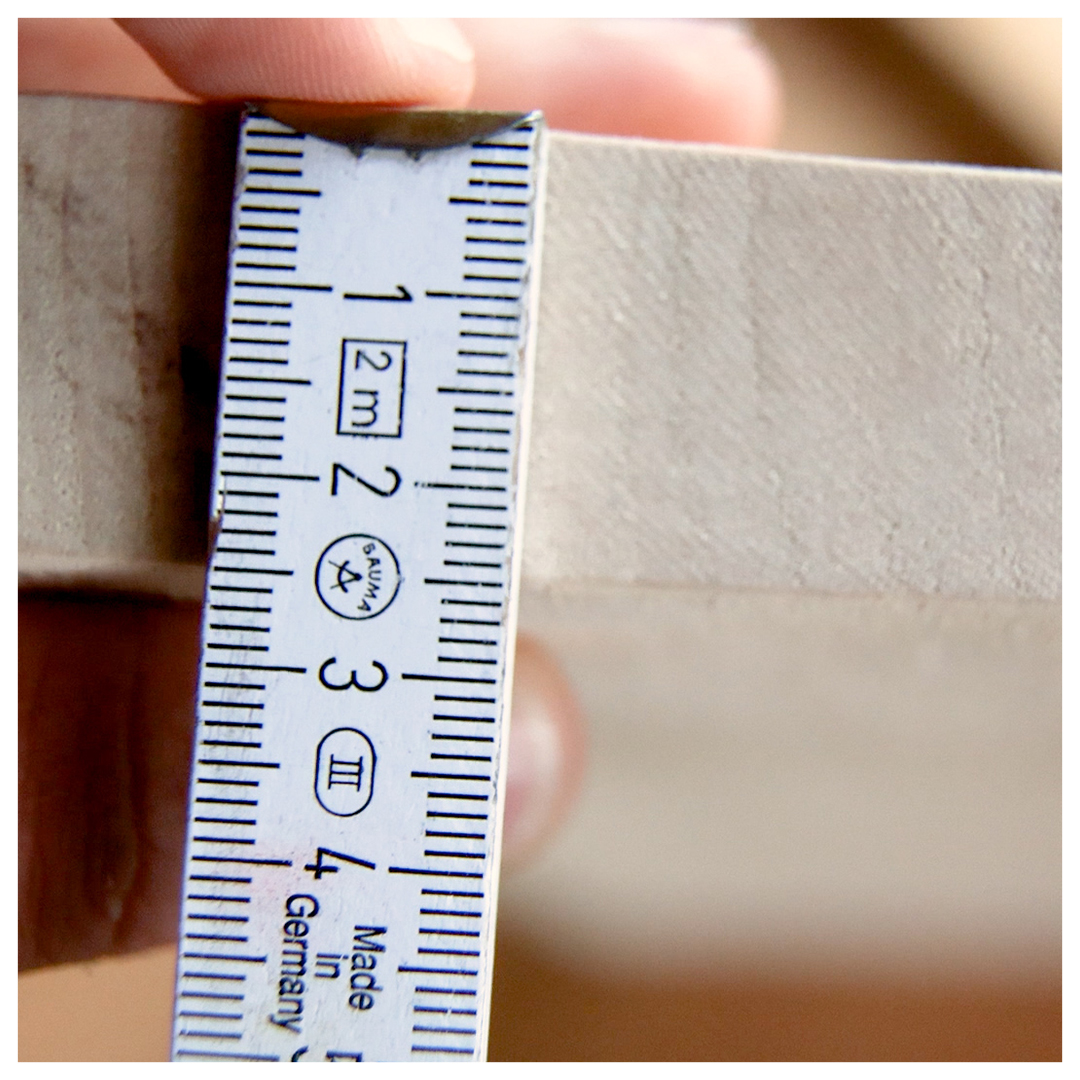
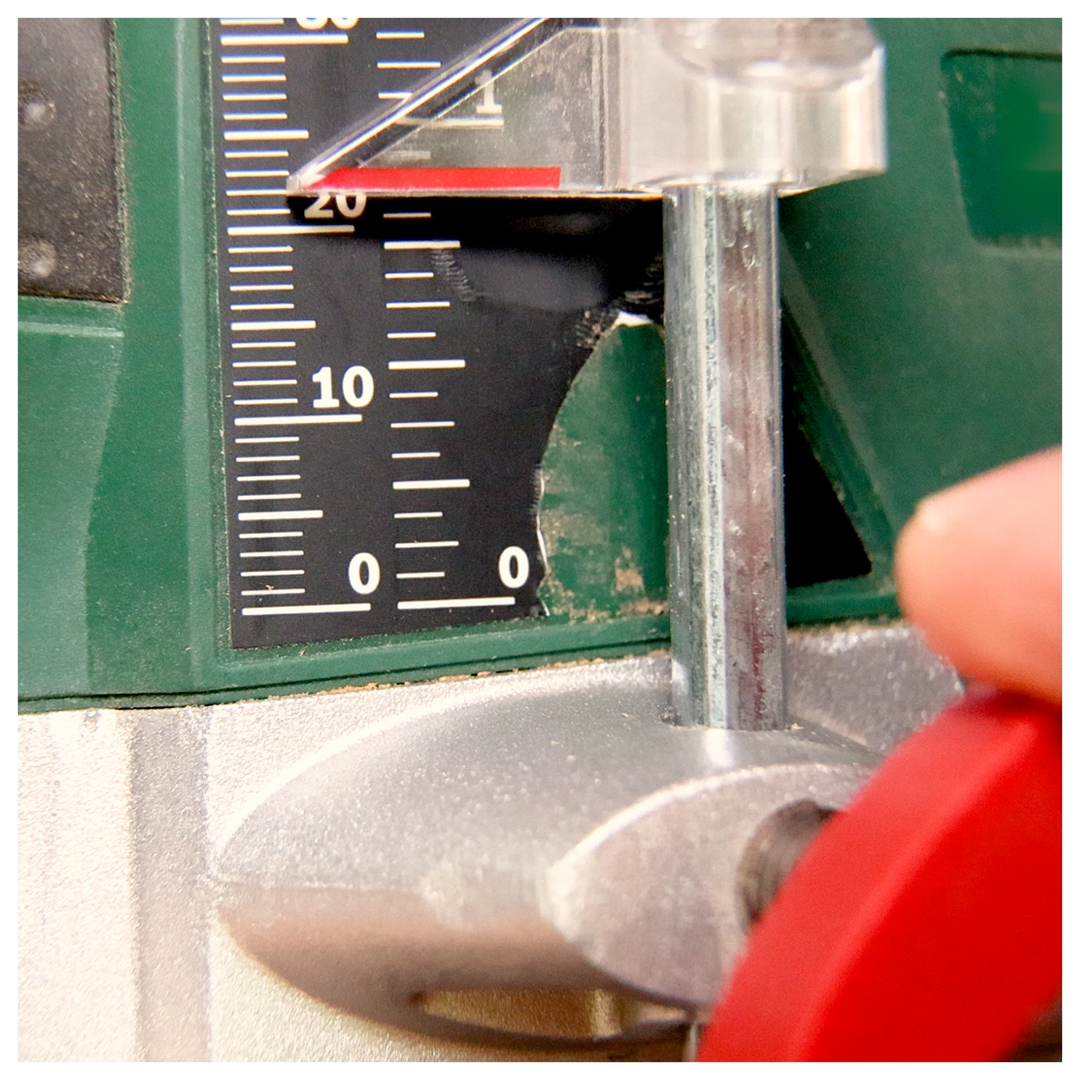
- Determine the required depth.
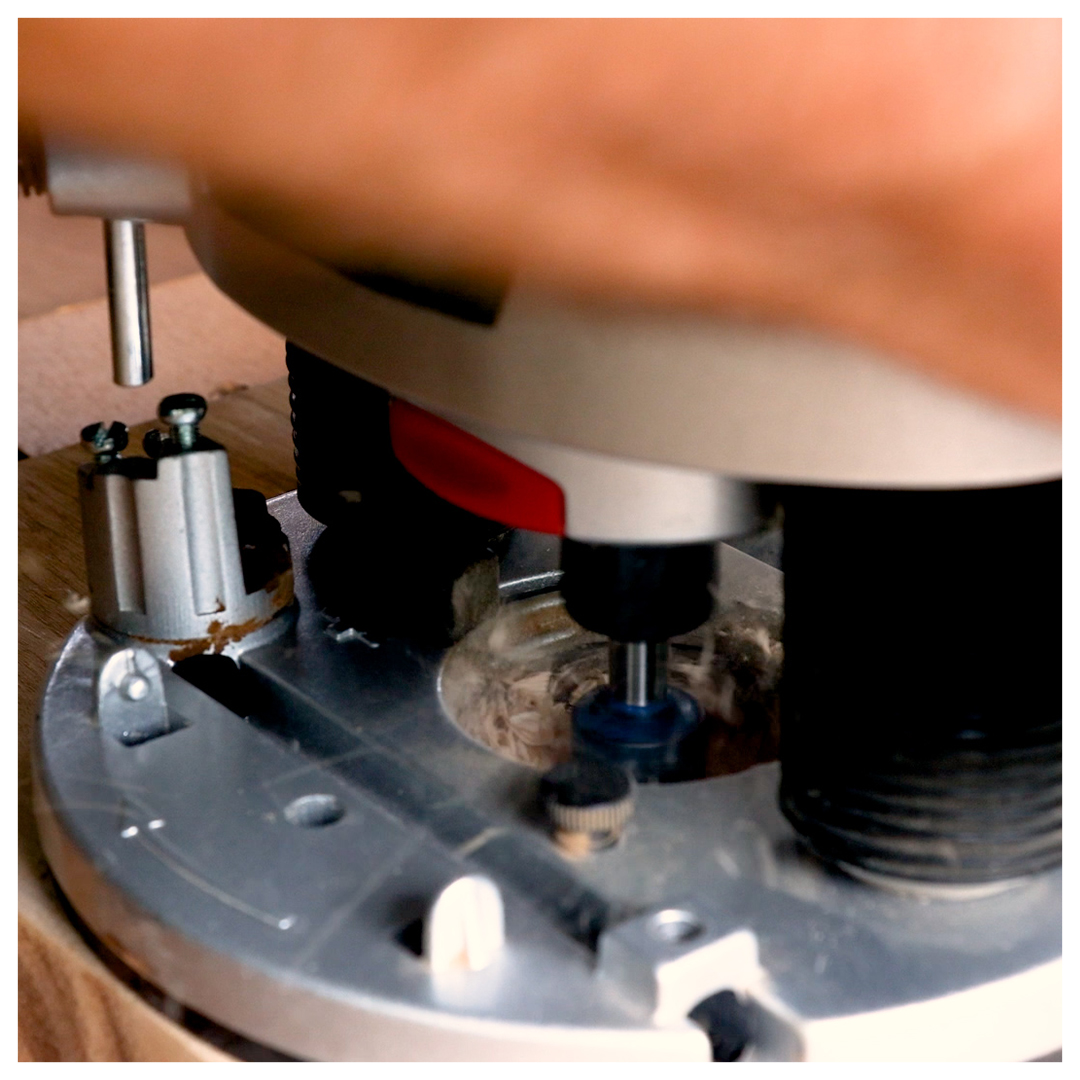
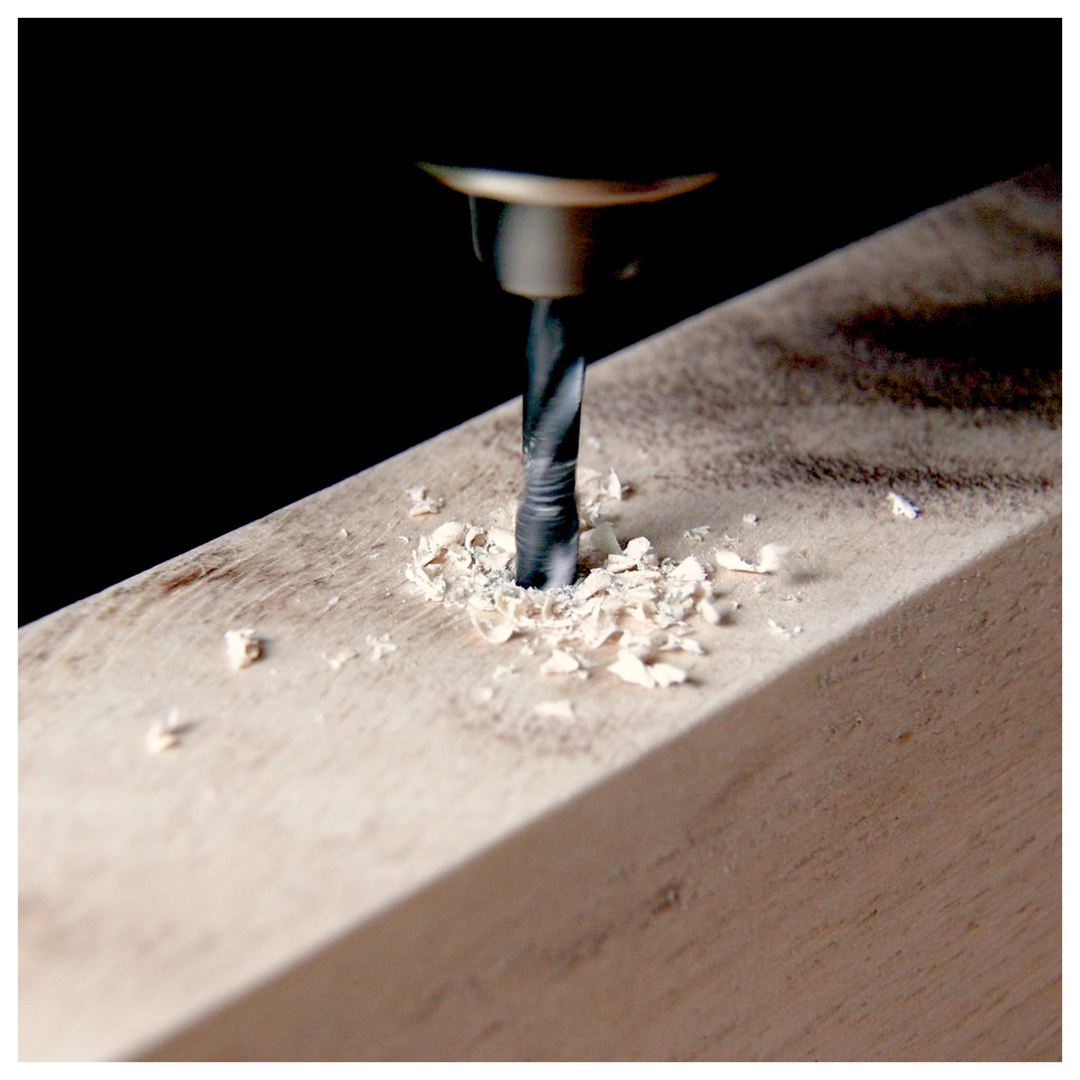
- Work in the holes with the drill and milling cutter.
Knife block instructions
Part 2:
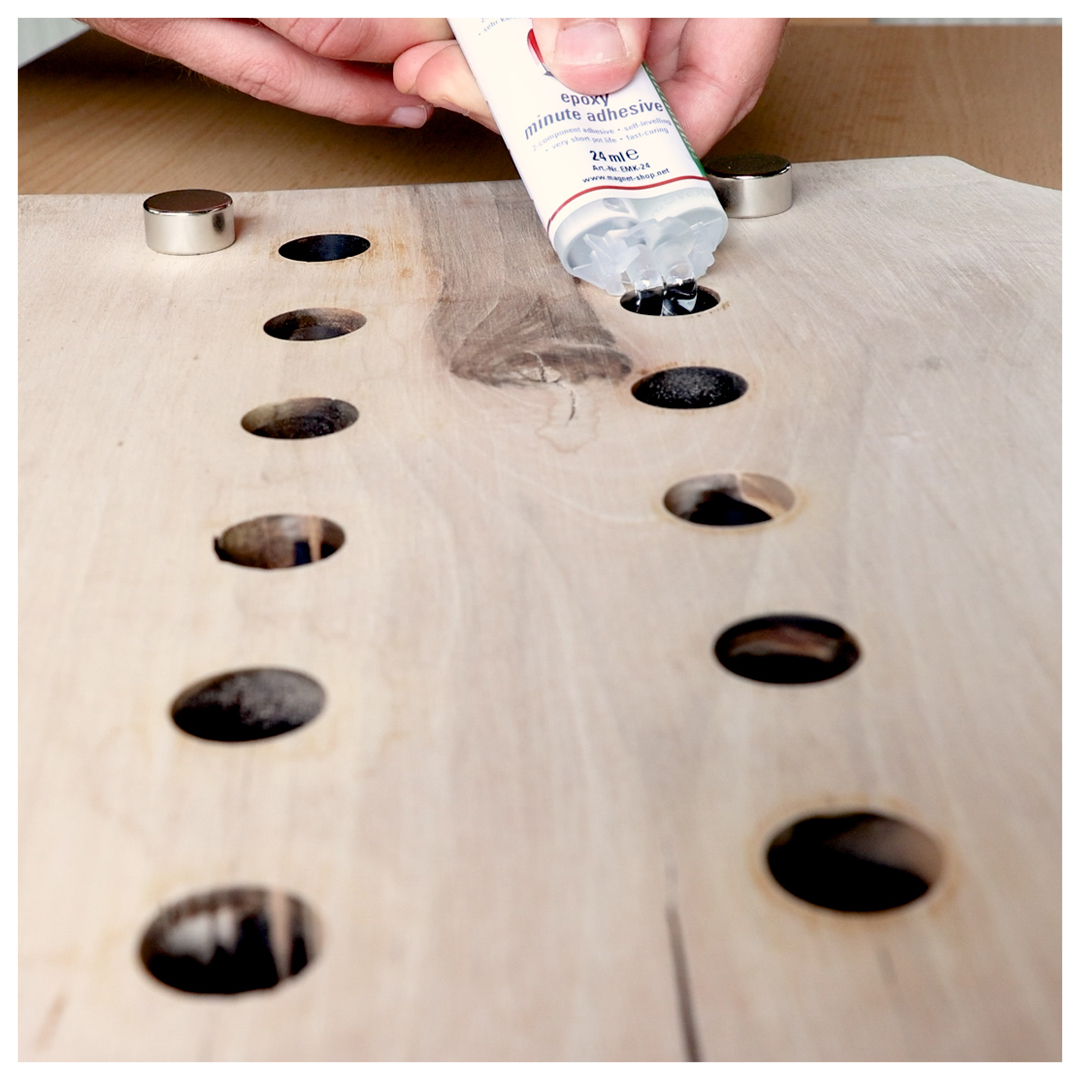
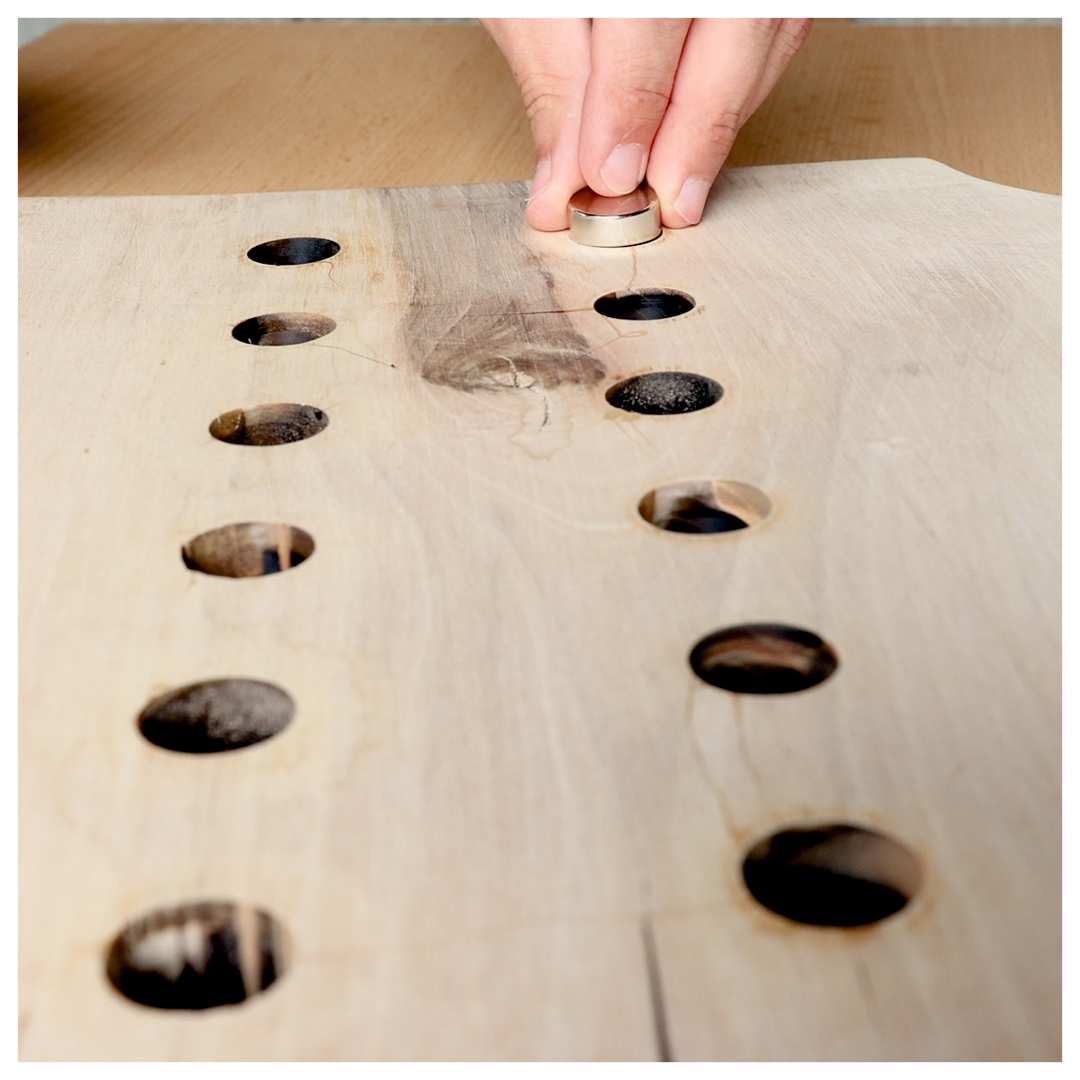
- Glue the magnets into the holes provided using the epoxy 2-component adhesive.
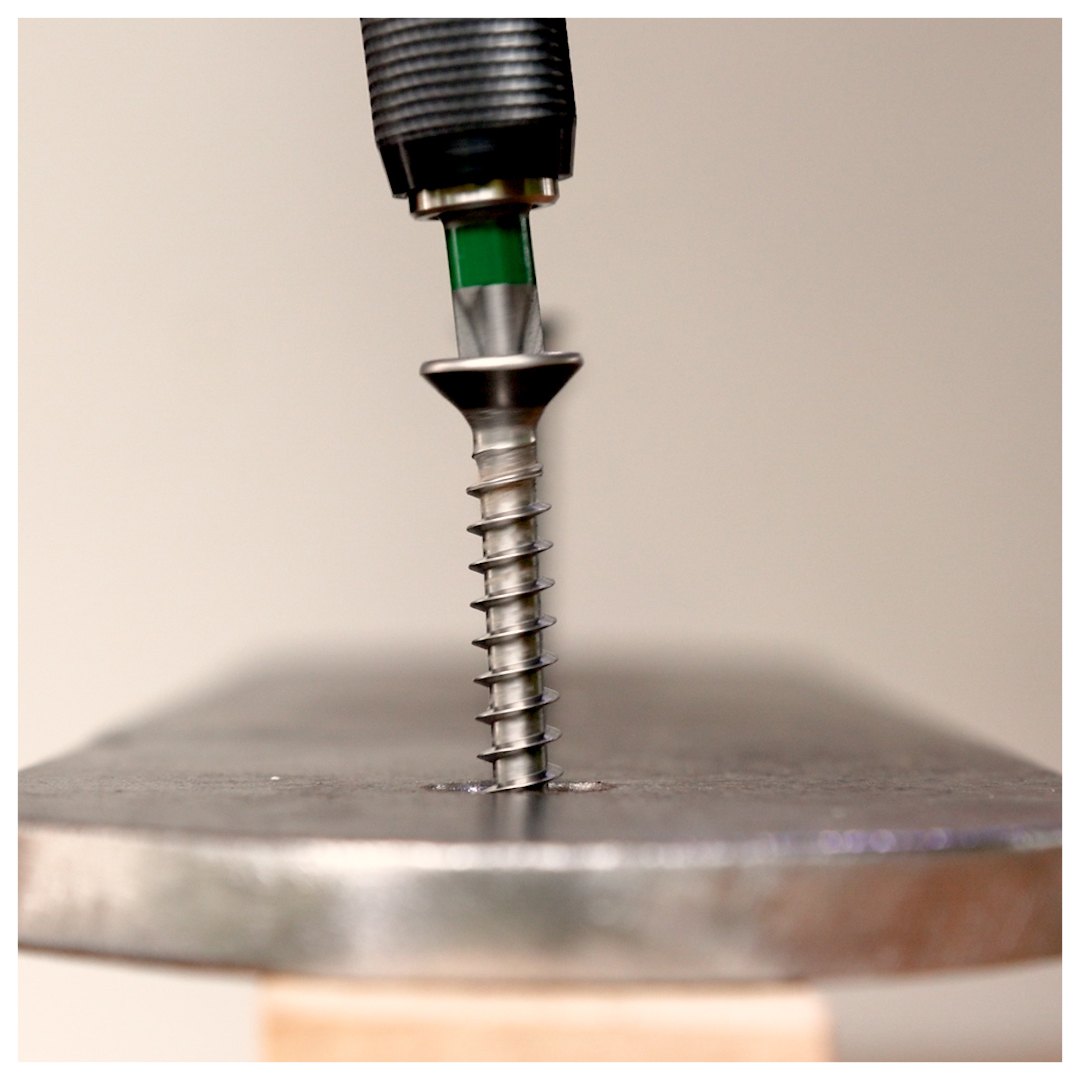
- Screw the stand to the desired location.
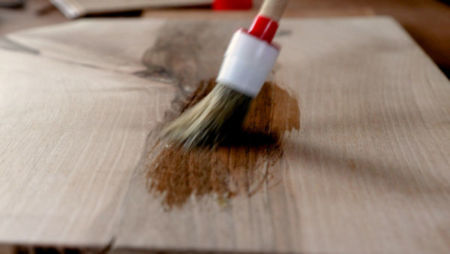
- As a finish, apply care oil and let it dry.
Magnetic knife block

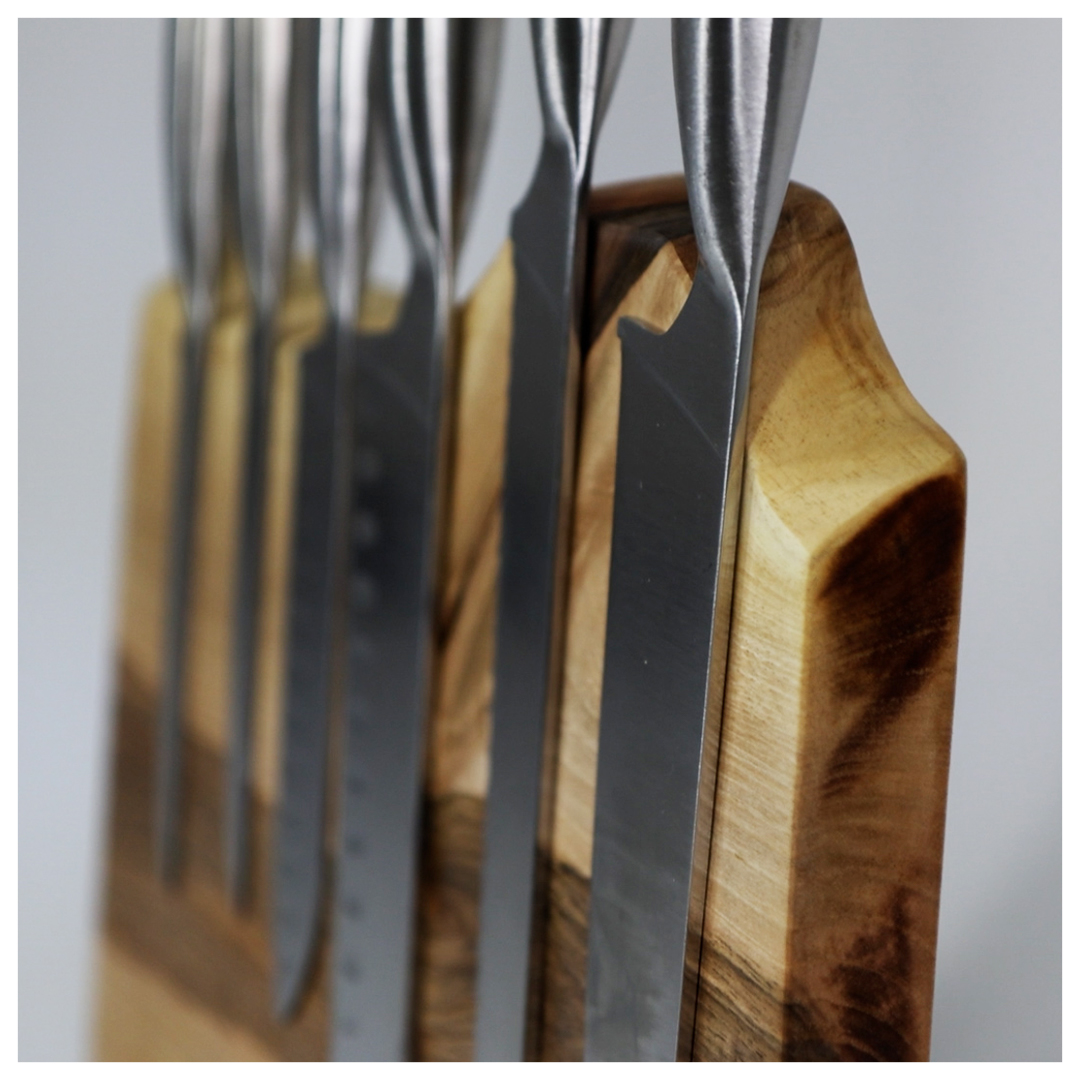
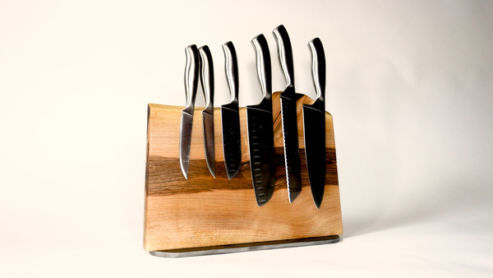
Our employee has created a unique piece here! Top!
The instructions are explained in detail again in the following video – take a look:
You can also find finished knife blocks in our online shop under knife blocks!