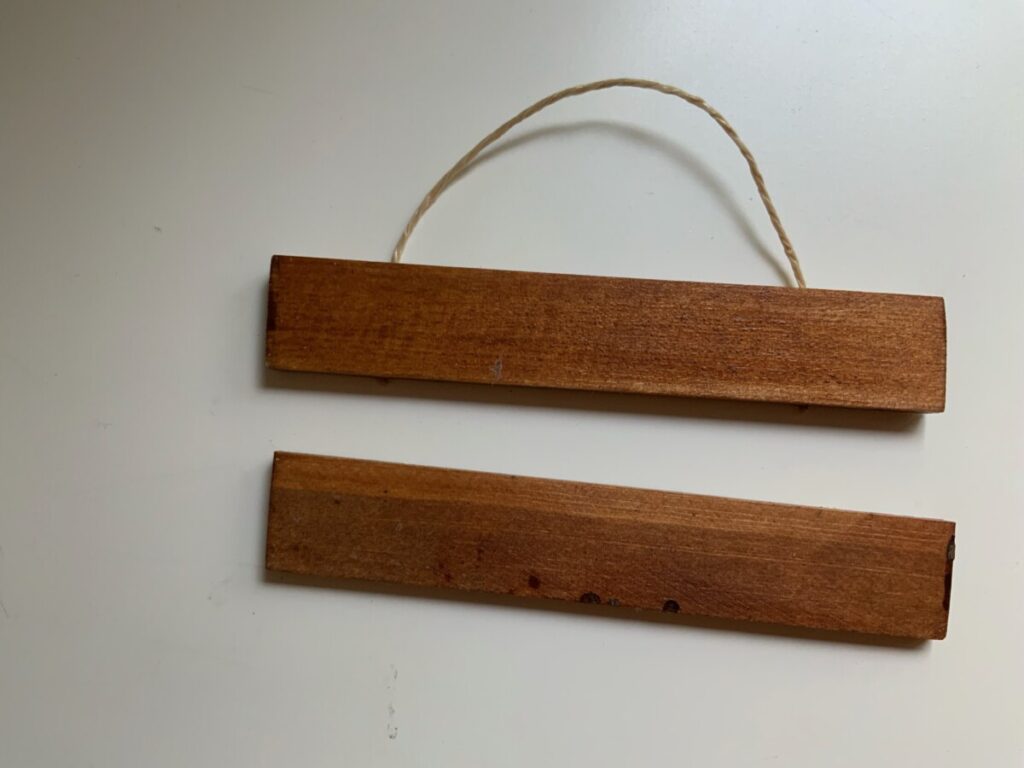
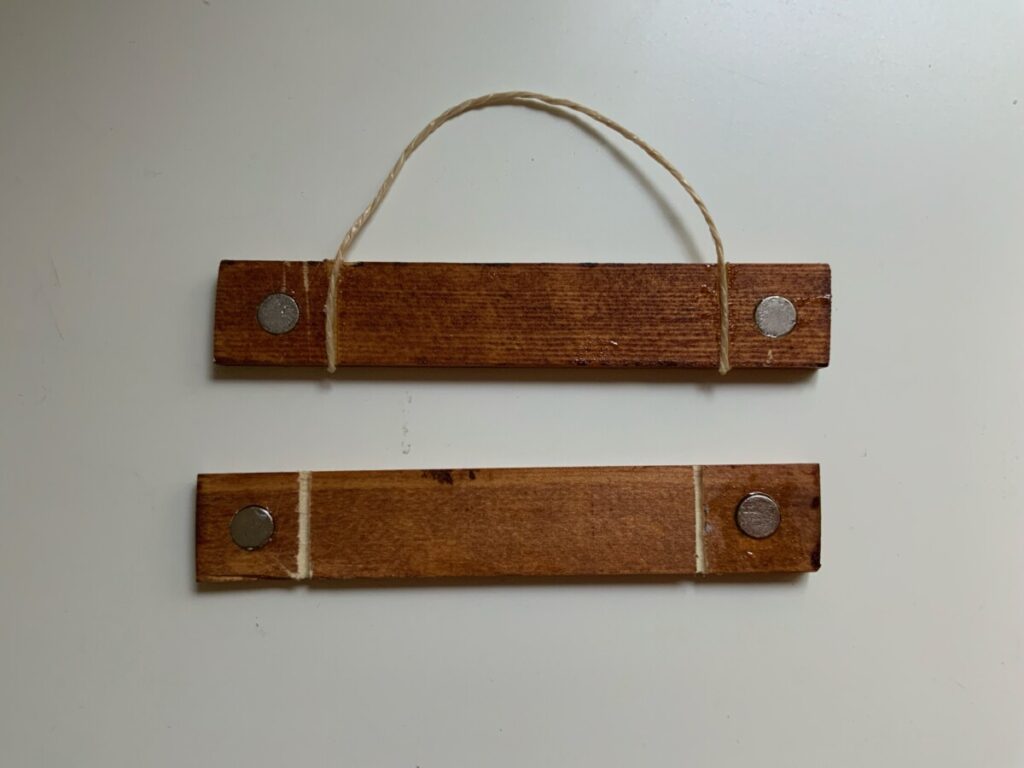
Our customer designed a magnetic poster stripas a Christmas present.
Magnetic poster strip
Hello, my dears,
I’ve already sat down on my Christmas presents (so that I can enjoy the pre-Christmas period without stress) and have been busy crafting.
This year I decided to make poster strips. Since I always paint my Christmas mail myself, I made hangings in DIN A5 format.
So the Christmas cards are included in the gift 🙂
Here is a short guide on how I did it:
Poster strips
Material:
- Wooden strip 2 times: 116 x 20 x 5 mm
- Wood varnish, desired color
- Neodymium magnets 4 times: discmagnet Ø 8.0 x 2.0 mm N45 nickel – holds 1 kg
- Cord/cord: 17 cm
- 2-component adhesive
- Saw
- Paint brush
- Drill press
- Forstner drill 8 mm
- Pencil
Instructions:
- Saw the two pieces of wood to the appropriate length from a wooden strip.
- Paint it in the desired color and let it dry thoroughly.
- Use a pencil to mark the places where you want the magnets.
I left a 5 mm margin on both sides of the wooden strip.
I marked the center of the magnet 11 mm from the edge. - Use the drill press to drill a 2 mm deep hole at the points shown.
- Also saw a slot at a distance of 21 mm from the edge into which the cord will later be glued.
- Finally, the magnets are glued into both strips using the 2-component adhesive.
- The string for hanging is also glued into one strip.
Tada, and the picture hanging is finished. 🥳
Of course you can also make the strips in other formats, here I would recommend an additional 1 to 1.5 cm on the edge.
You don’t need a strip at the bottom for postcards, but it certainly makes sense for posters. Then just do the same thing again without the string 🙂
I made 30 of the picture strips and was busy for about 4 afternoons.
For this I needed 10 m of wooden strip, 120 magnets and a tube of glue. In total I paid around 80 euros.
Kind regards and have fun imitating!


